I received the boards back from Seeed Studios two weeks and four days after placing my order. I’m shocked by the quick turn-around, especially since I selected the slowest shipping option available which itself could have taken three weeks.
I’ve been pretty busy with work lately but finally found a bit of time to populate a board and get some test code running. I’m happy to report that I made no design errors. Everything seems to work as planned! Well, that is after I discovered the tiny trace bridge between two vias which prevented ISP communications with the chip. A sharp razor blade fixed that right up. I understand that this type of manufacturing error is not uncommon and it doesn’t really bother me.
Above is a fast-motion video I made while populating the second board. I’ll be sending this one to my friend Christian who is going to lend a hand adding features to the firmware. Hand soldering the mostly SMD project wasn’t too hard, but it did take about an hour. If I were making any more than two of these it would be worth it to order a stencil and procure solder paste and an old toaster oven for reflow. Perhaps on the next project.
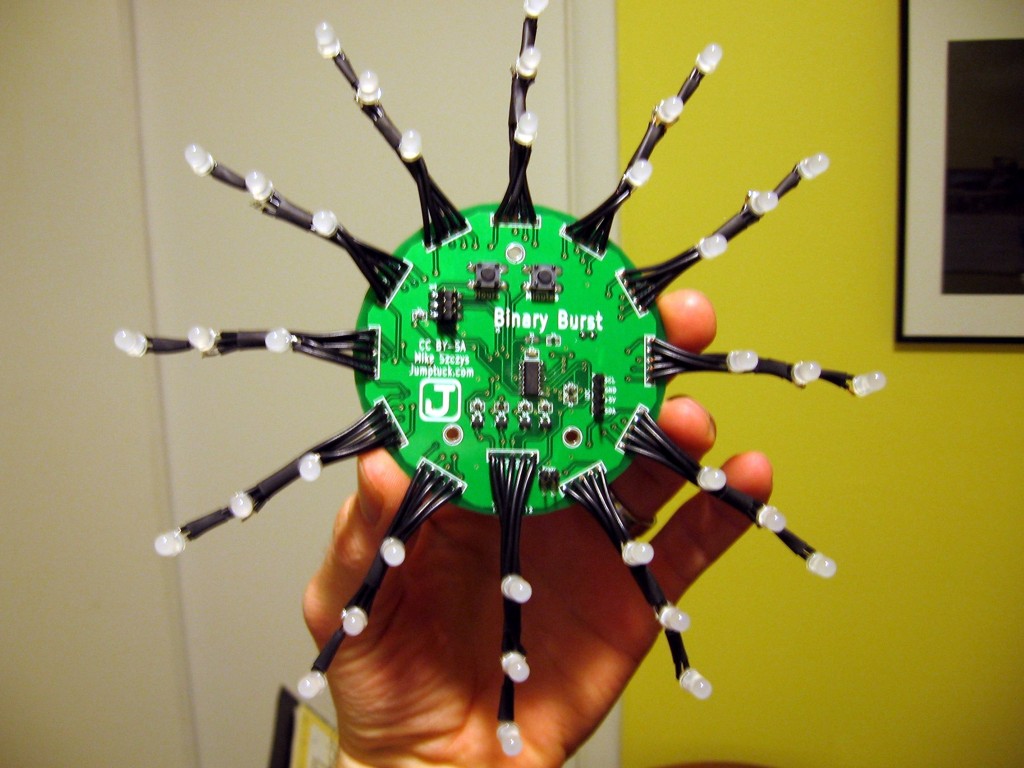
In my next post I’ll talk about adding the LEDs. This took a long time. The first spire took about 45 minutes, by the twelfth spire I had it down to around twenty. Here’s a peek at the final product:
How did I do hitting the mark from my concept?


