
At Golioth, we use Hardware in the Loop (HIL) testing to validate all pull requests to the platform on the actual hardware being targeted. This means that GitHub actions are compiling and running code on the nRF9160, ESP32, and a few other platforms. It’s really slick!
Part of making this all work is a Linux box that connects GitHub actions to the actual dev boards. It’s a perfect job for a Raspberry Pi. The catch, of course, is that because of the chip shortage we haven’t been able to buy a Raspberry Pi for the last year and a half.
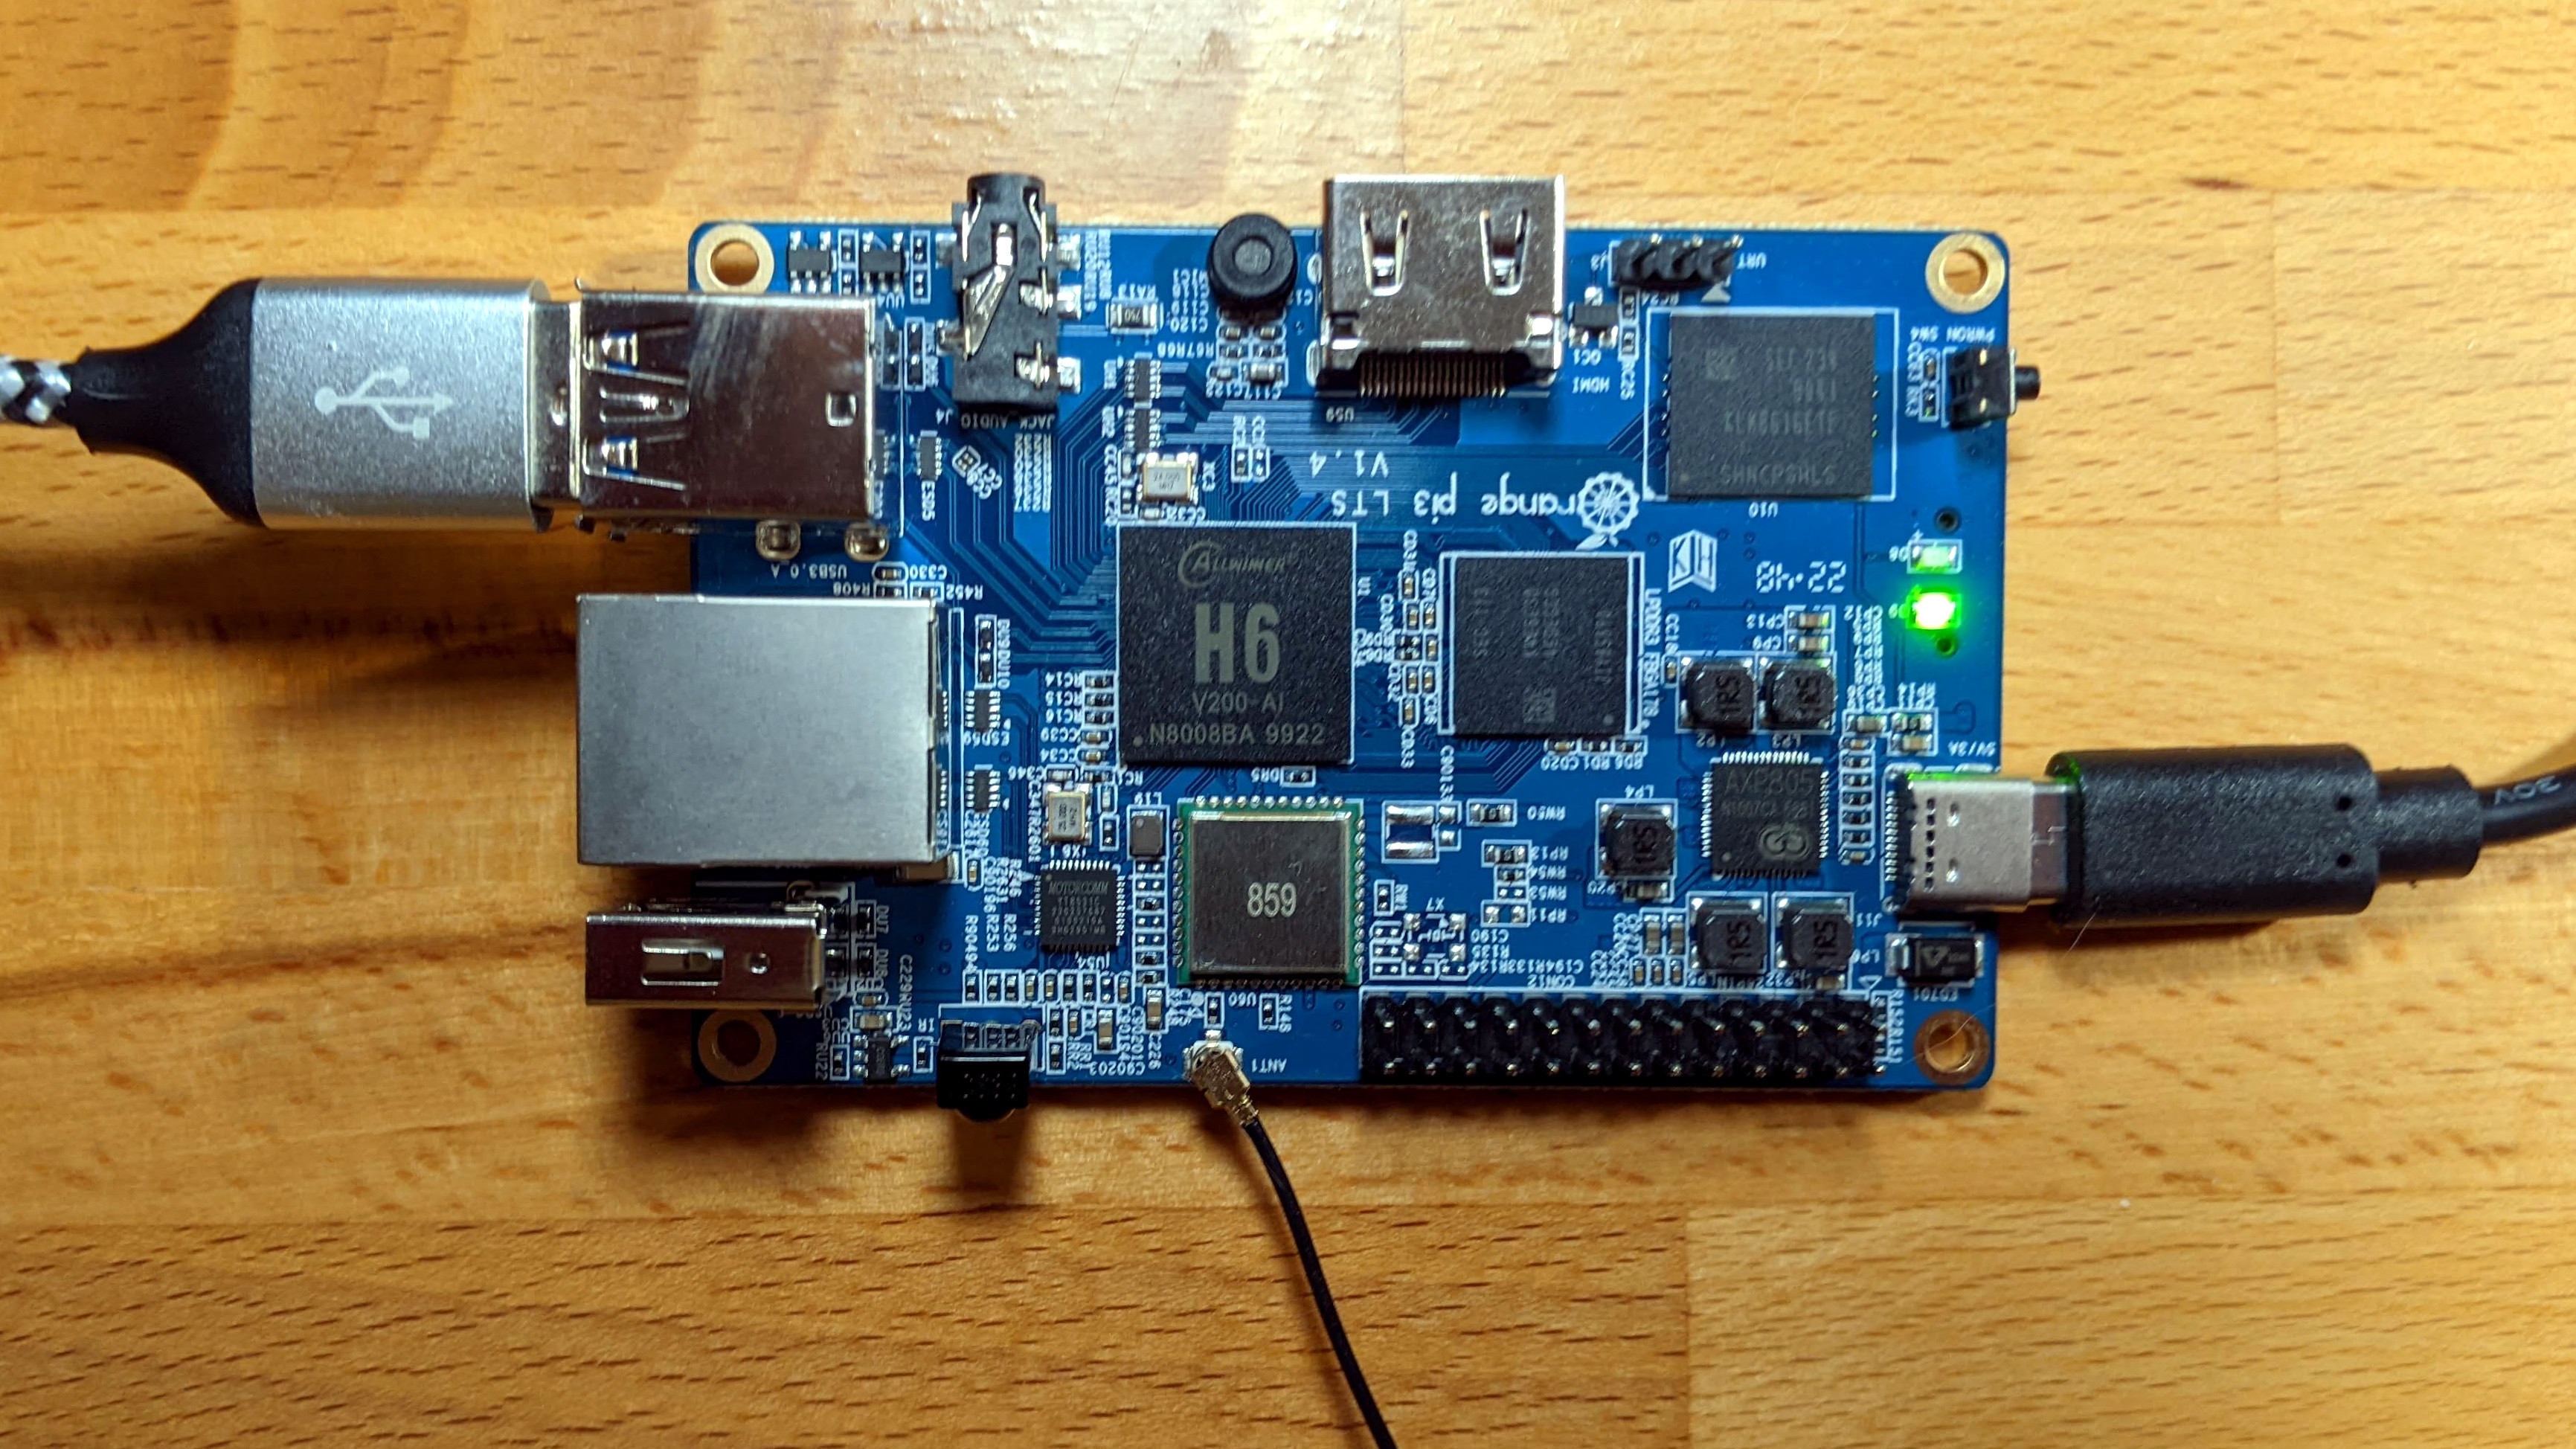
This weekend I spent some time validating the Orange Pi 3 LTS as a suitable alternative, and I’m quite happy with it. One of the only drawbacks I have found is that the documentation is not nearly as complete. It took me a while to find the correct command for copying Linux to the onboard eMMC flash memory:
$ nand-sata-install
This is command is nowhere to be found on the official wiki, and the documentation available for download includes a deprecated command that no longer works. There is also a bit more that goes into the install so I’m going to walk through the process in this tutorial.
Download Ubuntu and Flash onto an SD Card for installation
The first step is to download an Ubuntu image and flash it onto an SD Card. We will boot the Orange Pi 3 LTS from this SD Card and then install the OS onto the eMMC storage.
-
Go to the Orange Pi downloads page and choose Ubuntu.
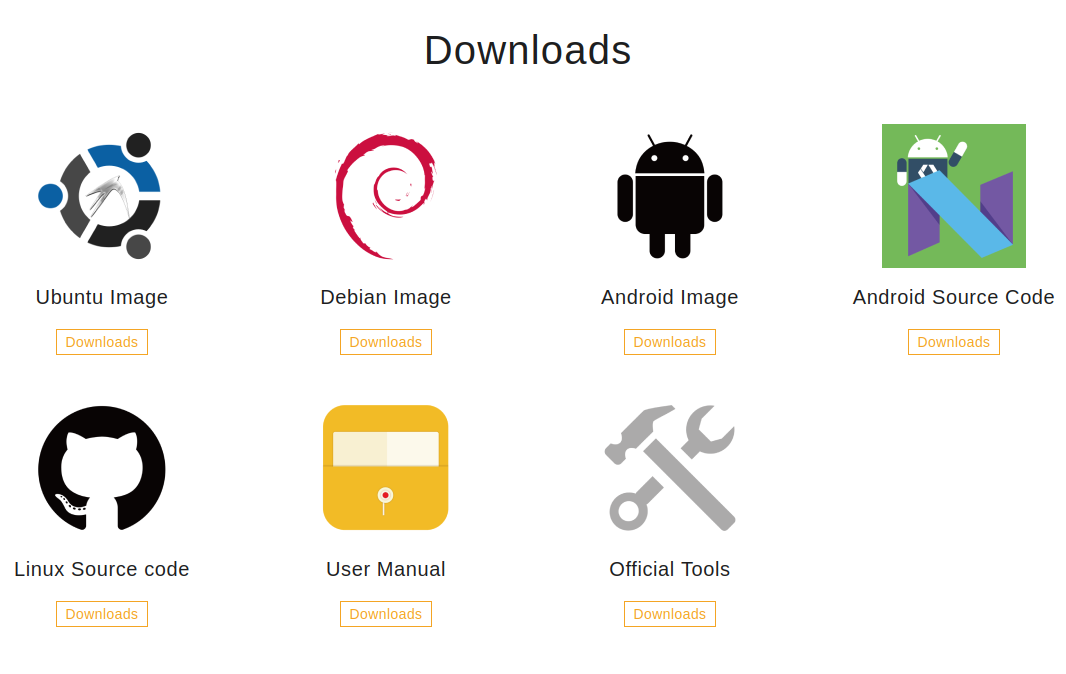
You will be redirected to a Google Drive folder with several files in it. I downloaded the
Orangepi3-lts_3.0.8_ubuntu_jammy_server_linux5.16.17.7zarchive as I don’t need a desktop for this project. However, installation for any of these images is largely the same. - Extract the
.imgfile from the archive you just downloaded -
Download Balena Etcher, which is useful for flashing installation images to an SD Card
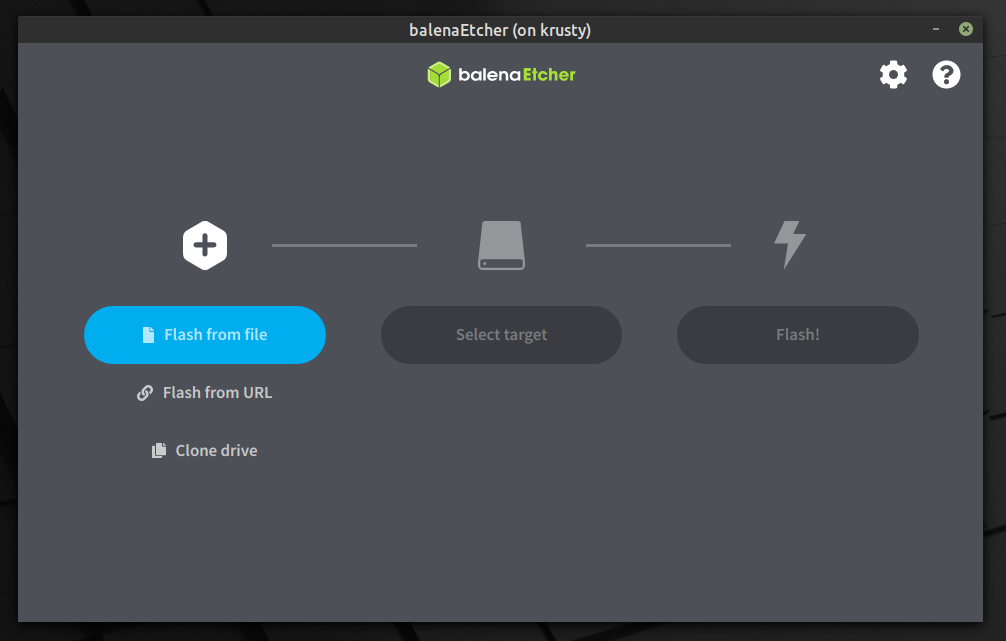
- Select your
.imgfile, chose your SD card, and click on flash.
I have seen mention that this SD card should be smaller than the 8GB eMMC on which we will be installing the OS. However, I haven’t verified this requirement. I happened to be using a 2GB card and it works well.
Boot in Linux and Install on the eMMC Flash Memory
Place your SD card in the slot on the bottom of the Oragne Pi 3 LTS board. Connect your monitor via HDMI and your keyboard using the USB ports. Apply power to the USB-C connector on the board.
-
After boot, log in with username
rootand passwordorangepi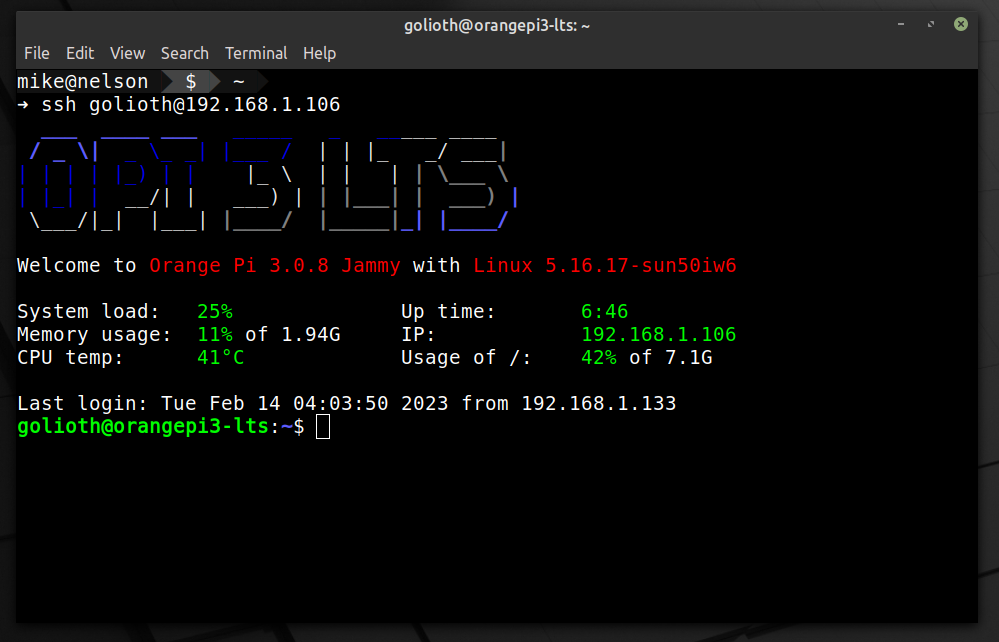
- Type
nand-sata-installto begin the installation process -
Choose to boot from eMMC, choose
EXT4, then accept the warning that the process will erase all contents of the eMMC memory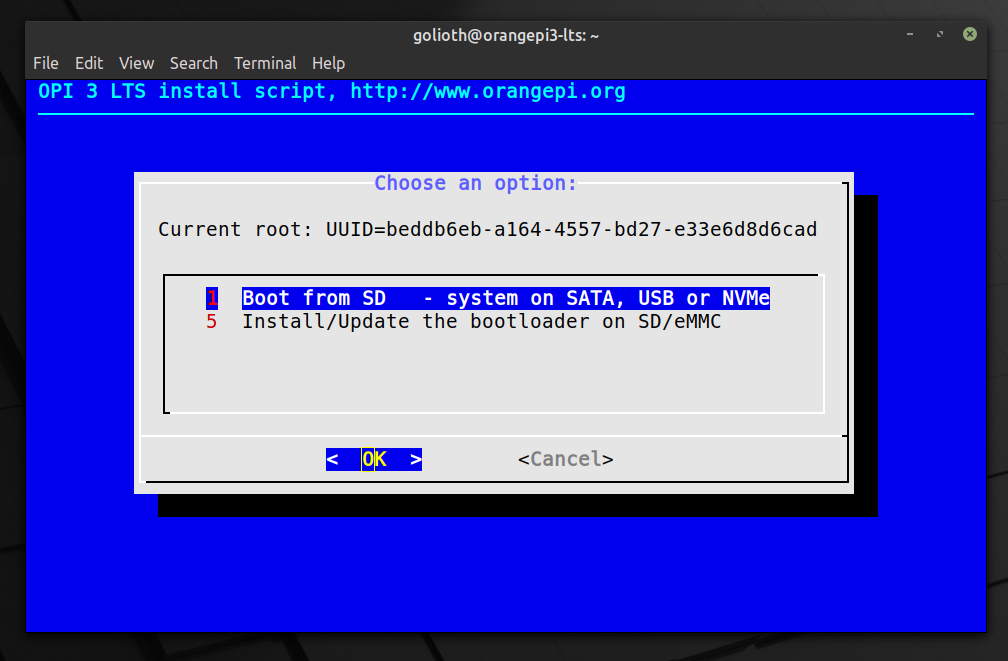
- After a few minutes you will be given the option to power down the board. Do so and remove the SD Card.
Installation of Linux on the eMMC is now complete
Bonus: Connecting to WiFi and fixing the DNS
At this point Linux is installed and working on the Orange Pi. You can boot the
board and log in with root/orangepi. If you are using an Ethernet connection
you likely already have internet working, but I only wanted to use WiFi. Let’s
step through the process of setting that up.
-
Add WiFi to the network interfaces
$ sudo nano /etc/network/interfaces #Add the following to the bottom of this file: auto wlan0 iface wlan0 inet dhcp wpa-ssid your-wifi-ssid wpa-psk your-wifi-password -
WiFi will work after a reboot but my DNS wasn’t working. To fix this, edit the systemd resolved configuration:
$ sudo nano /etc/resolv.conf #Add the folling to the bottom of this file: search domain.name nameserver 8.8.8.8 nameserver 1.1.1.1 nameserver 1.0.0.1 -
Reboot the board by typing
reboot.
Wrapping Up
The Orange Pi is now running from the onboard eMMC, it’s connected to your WiFi network, and it’s able to use a DNS server for domain name lookup. There is still some work to do. I recommend you add a public key for logging in over SSH and disable password-based authentication. But that’s a post for another day.