

Making your own upholstered headboard doesn’t take much time, skill or money. I’ll show you how to go from nothing to fully installed in less than a day. Join me after the jump for a step-by-step explanation and a build video. Our headboard is for a queen sized bed, but making one for a King Size, Double, or Twin Sized bed will be just as easy.
Materials:
- 1/4″ plywood (32″x62″) – On hand
- 3x 6′ 1×3 lumber – $5.88
- Box of 1″ drywall screws – $4.37
- 1x 7′ stud (2×4) – $2.06
- 1x Twin Sized bed foam mattress topper – $13.99
- 2yd upholstery fabric – $9.00
- Batting – our fabric already had batting attached
- 6x buttons – $4.50
- Needles – $1.49
- Embroidery floss – $0.39
- 4x 2-1/2″ deck screws – on hand
Total out-of-pocket for this project: $41.68
Tools used:
- Table Saw
- Circular Saw
- Mitre Saw (just use the circular saw if you don’t have one of these)
- Drill
- Impact driver (just use drill if you don’t have one)
- Hot glue gun
- Utility scissors/shears
- Staple gun (we used 1/2″ staples)
- Hammer
- Stud finder
- Level
- Tape measure
How-To:
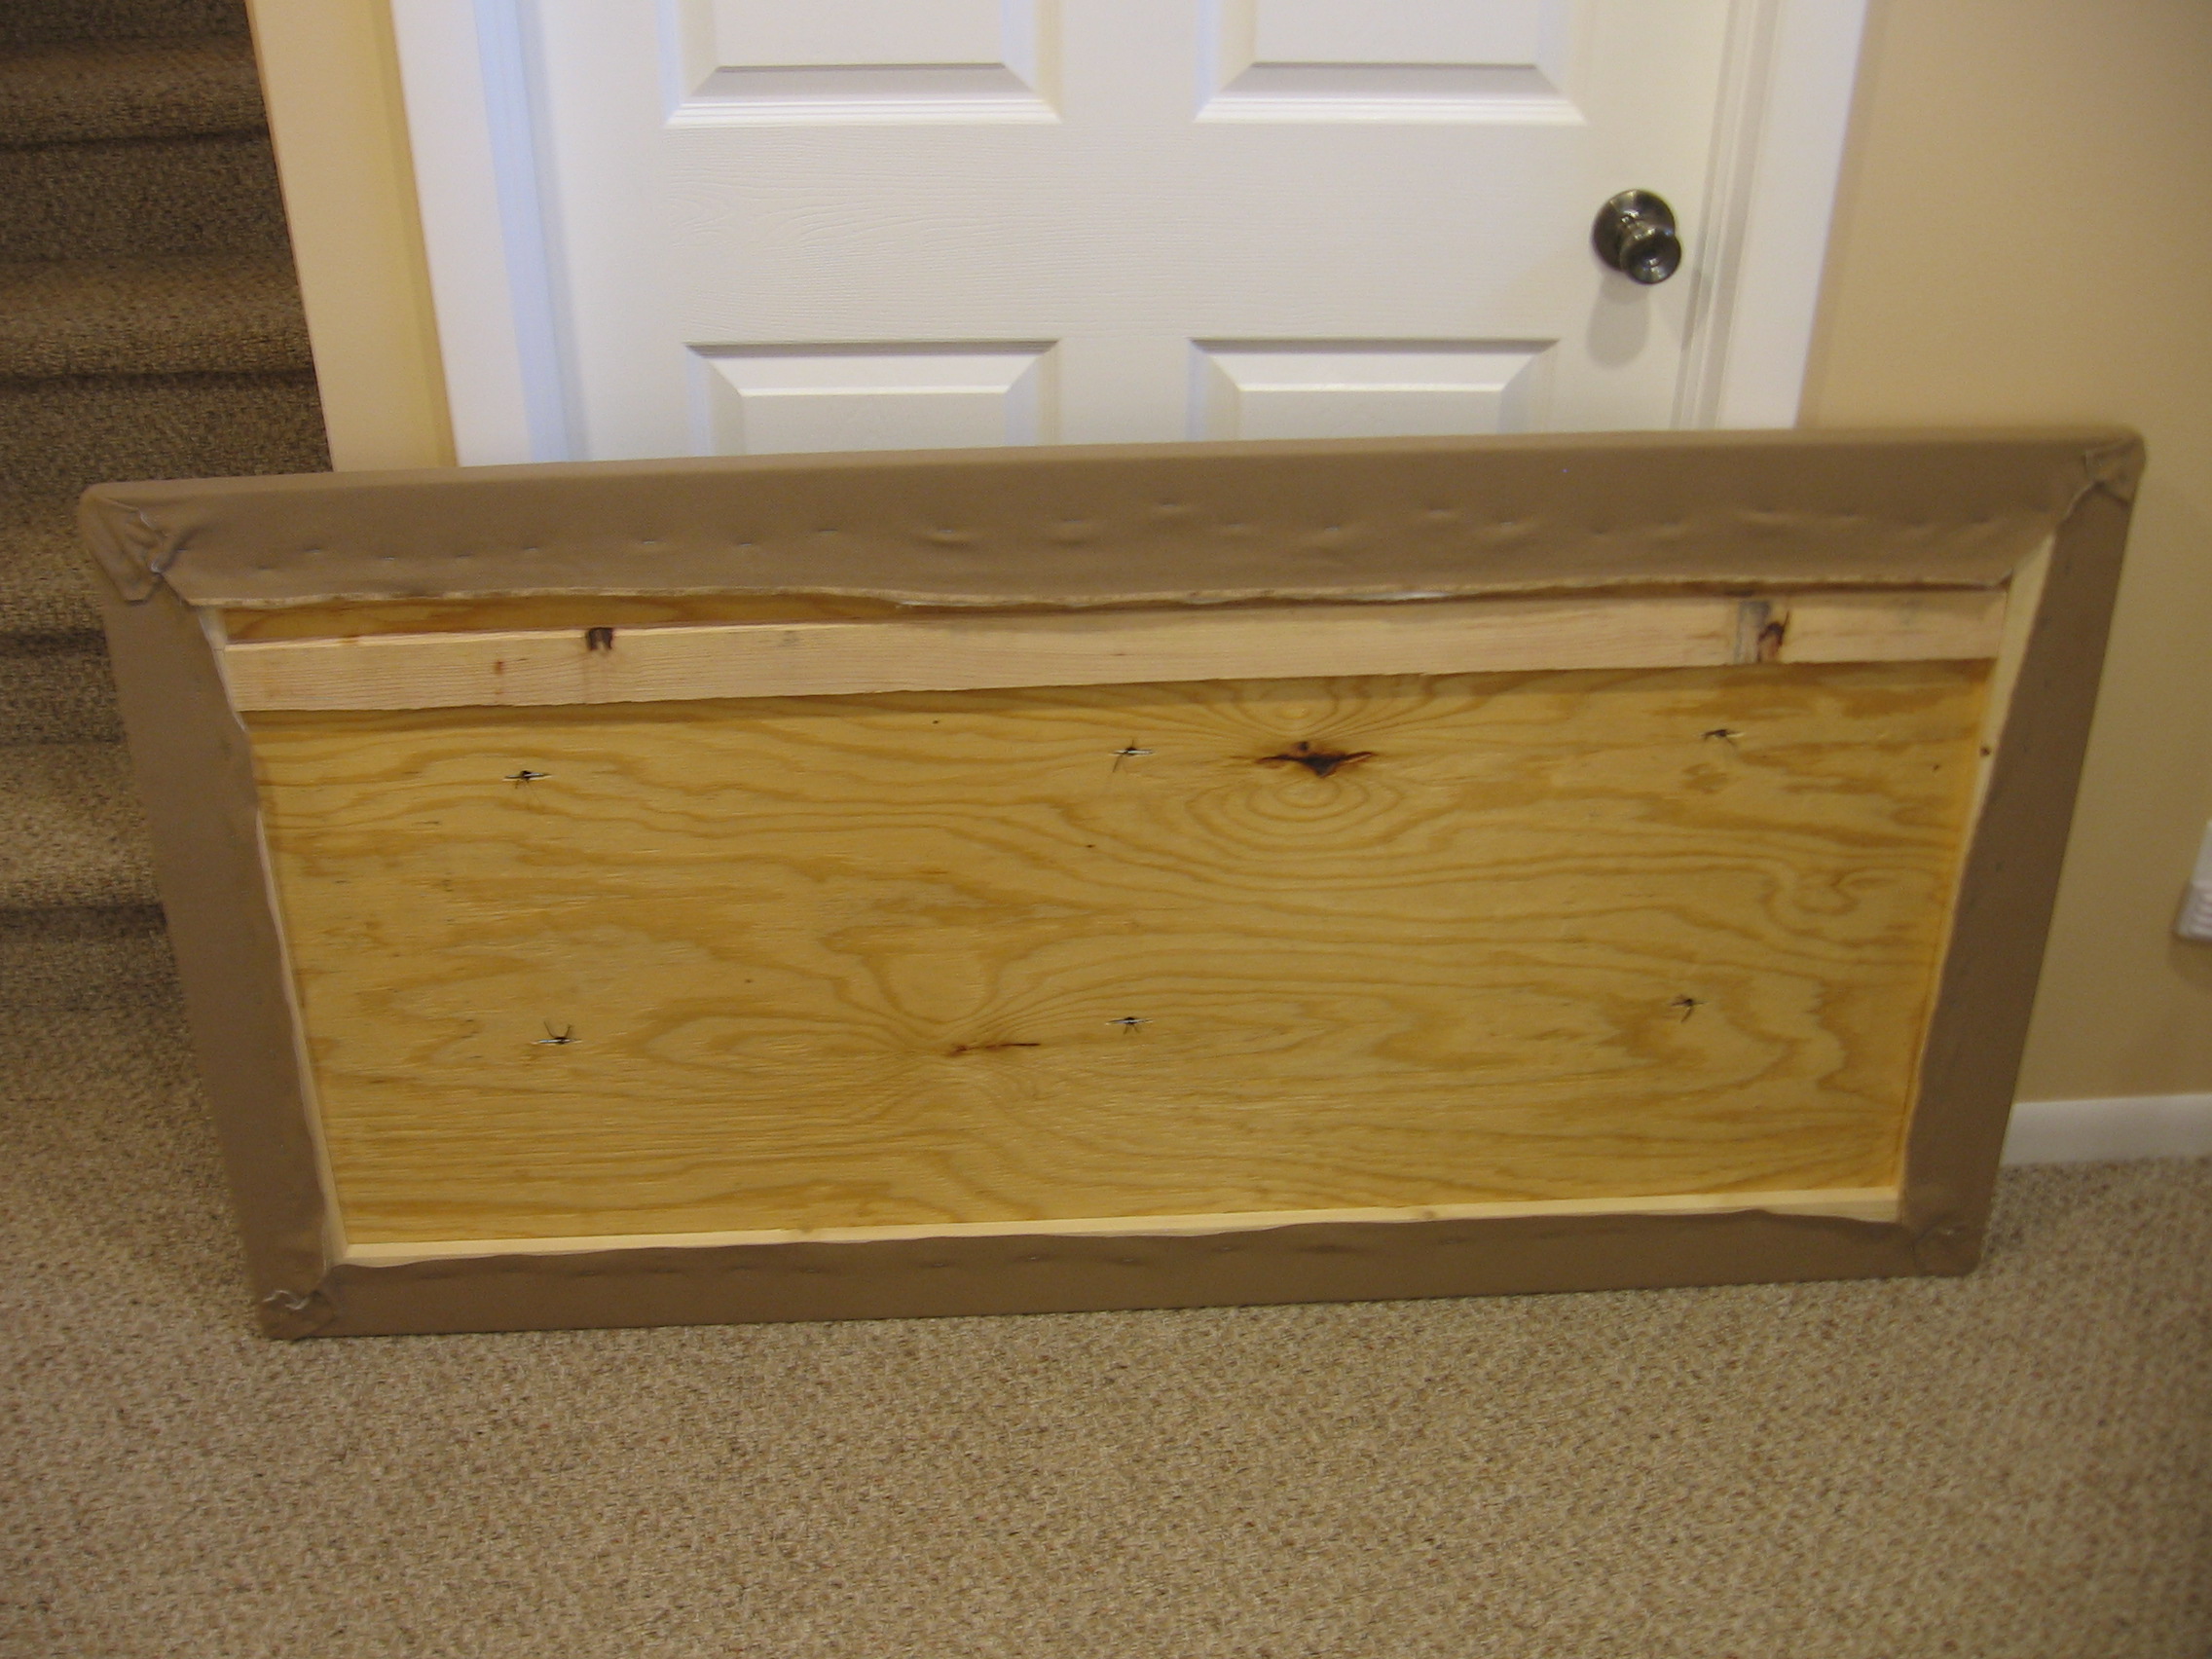
The structure for the headboard is a piece of 1/4″ plywood cut to 32″x64″. We arrived at this size and shape after looking at the wall space available above our queen sized bed. It’s difficult to tell in this image, but the perimeter of the plywood has been wrapped in 1×3 lumber. This helps stiffen the thin plywood and gives us something to staple into for the upholstery fabric. I used 1″ drywall screws from the plywood side to fasten each 1×3.
I made a french cleat by ripping the 2×4 stud with the table saw blade at a 45 degree angle. This produces two parts that are matching pairs of one another (which will make leveling the thing easy later on). After that cut I ripped about 5/8″ off of each piece so that they will not stick past the 1×3 trim. If you want to know more about french cleats check out this Instructable.
Before starting the upholstery we hot glued the foam mattress topper to the front of the plywood, then used utility scissors to cut it flush with the edges. From there it’s on the upholstering. Don’t forget to iron your material first!
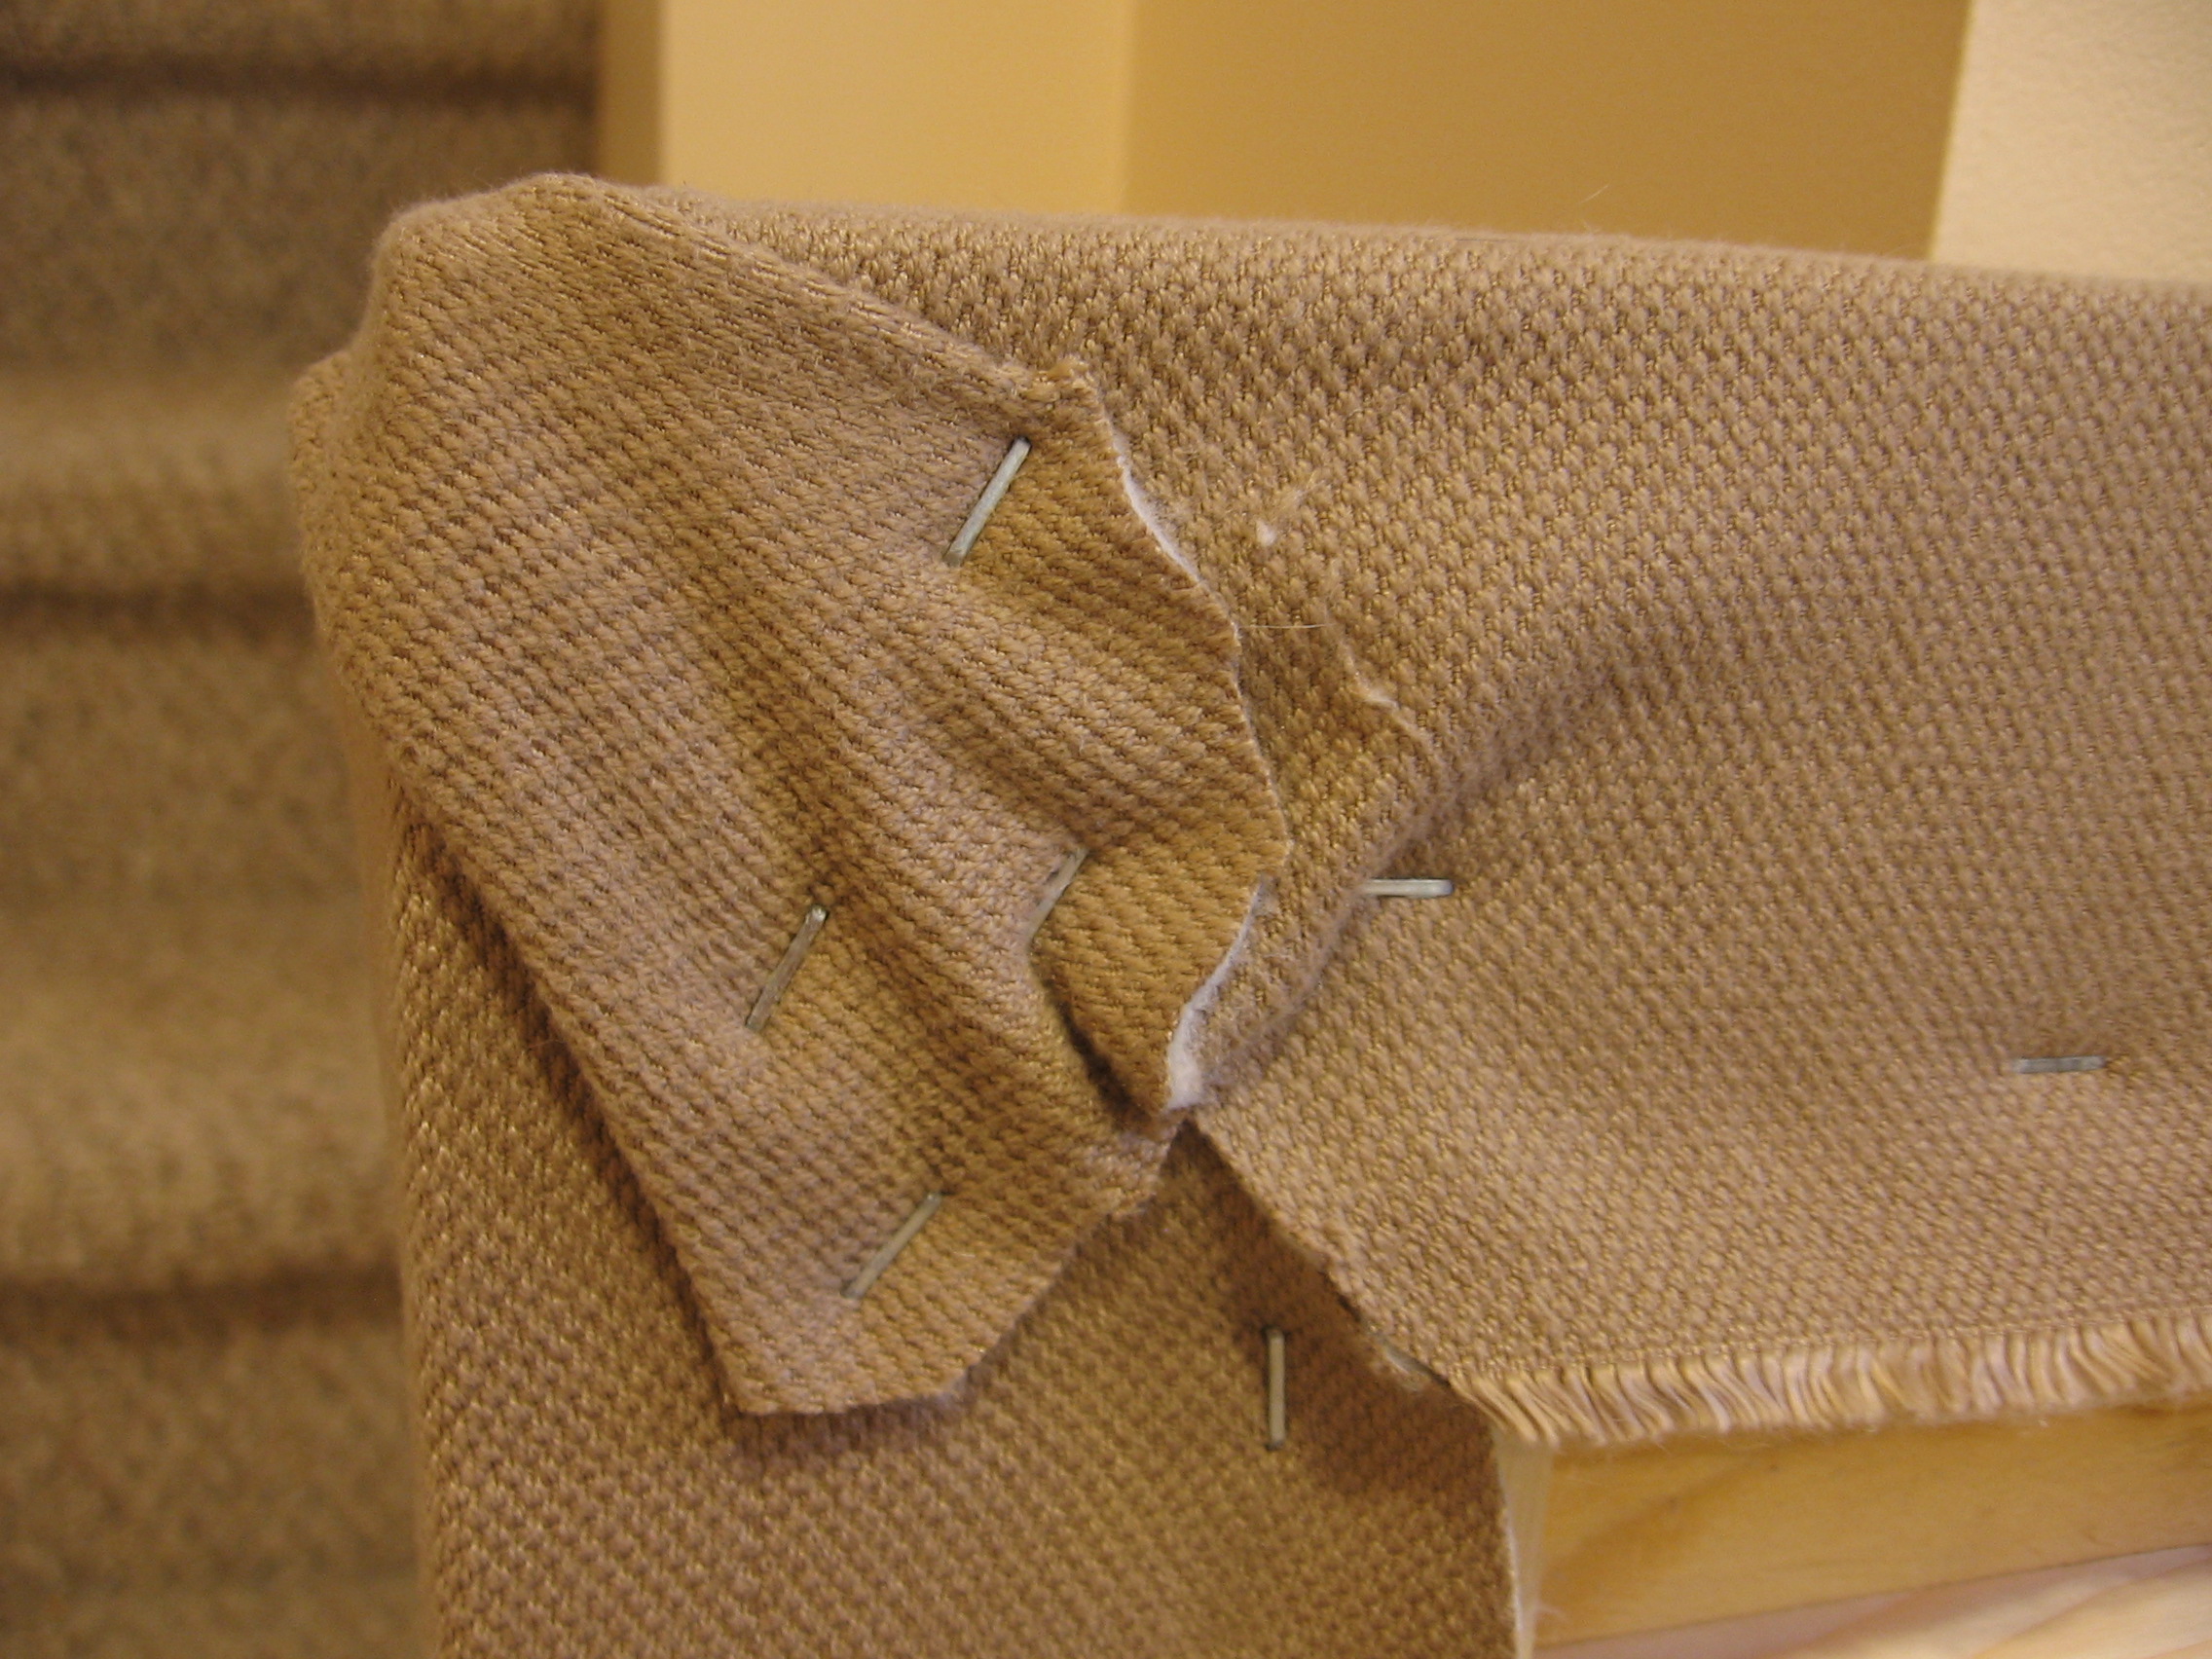
The 1×3 lumber is easy to staple into, but just use a tap of your hammer if some of the staples don’t fully seat. The corners can be a bit tricky. I just cut off most of the excess and then made some folds for a nice look. This is shown off more in the video below.
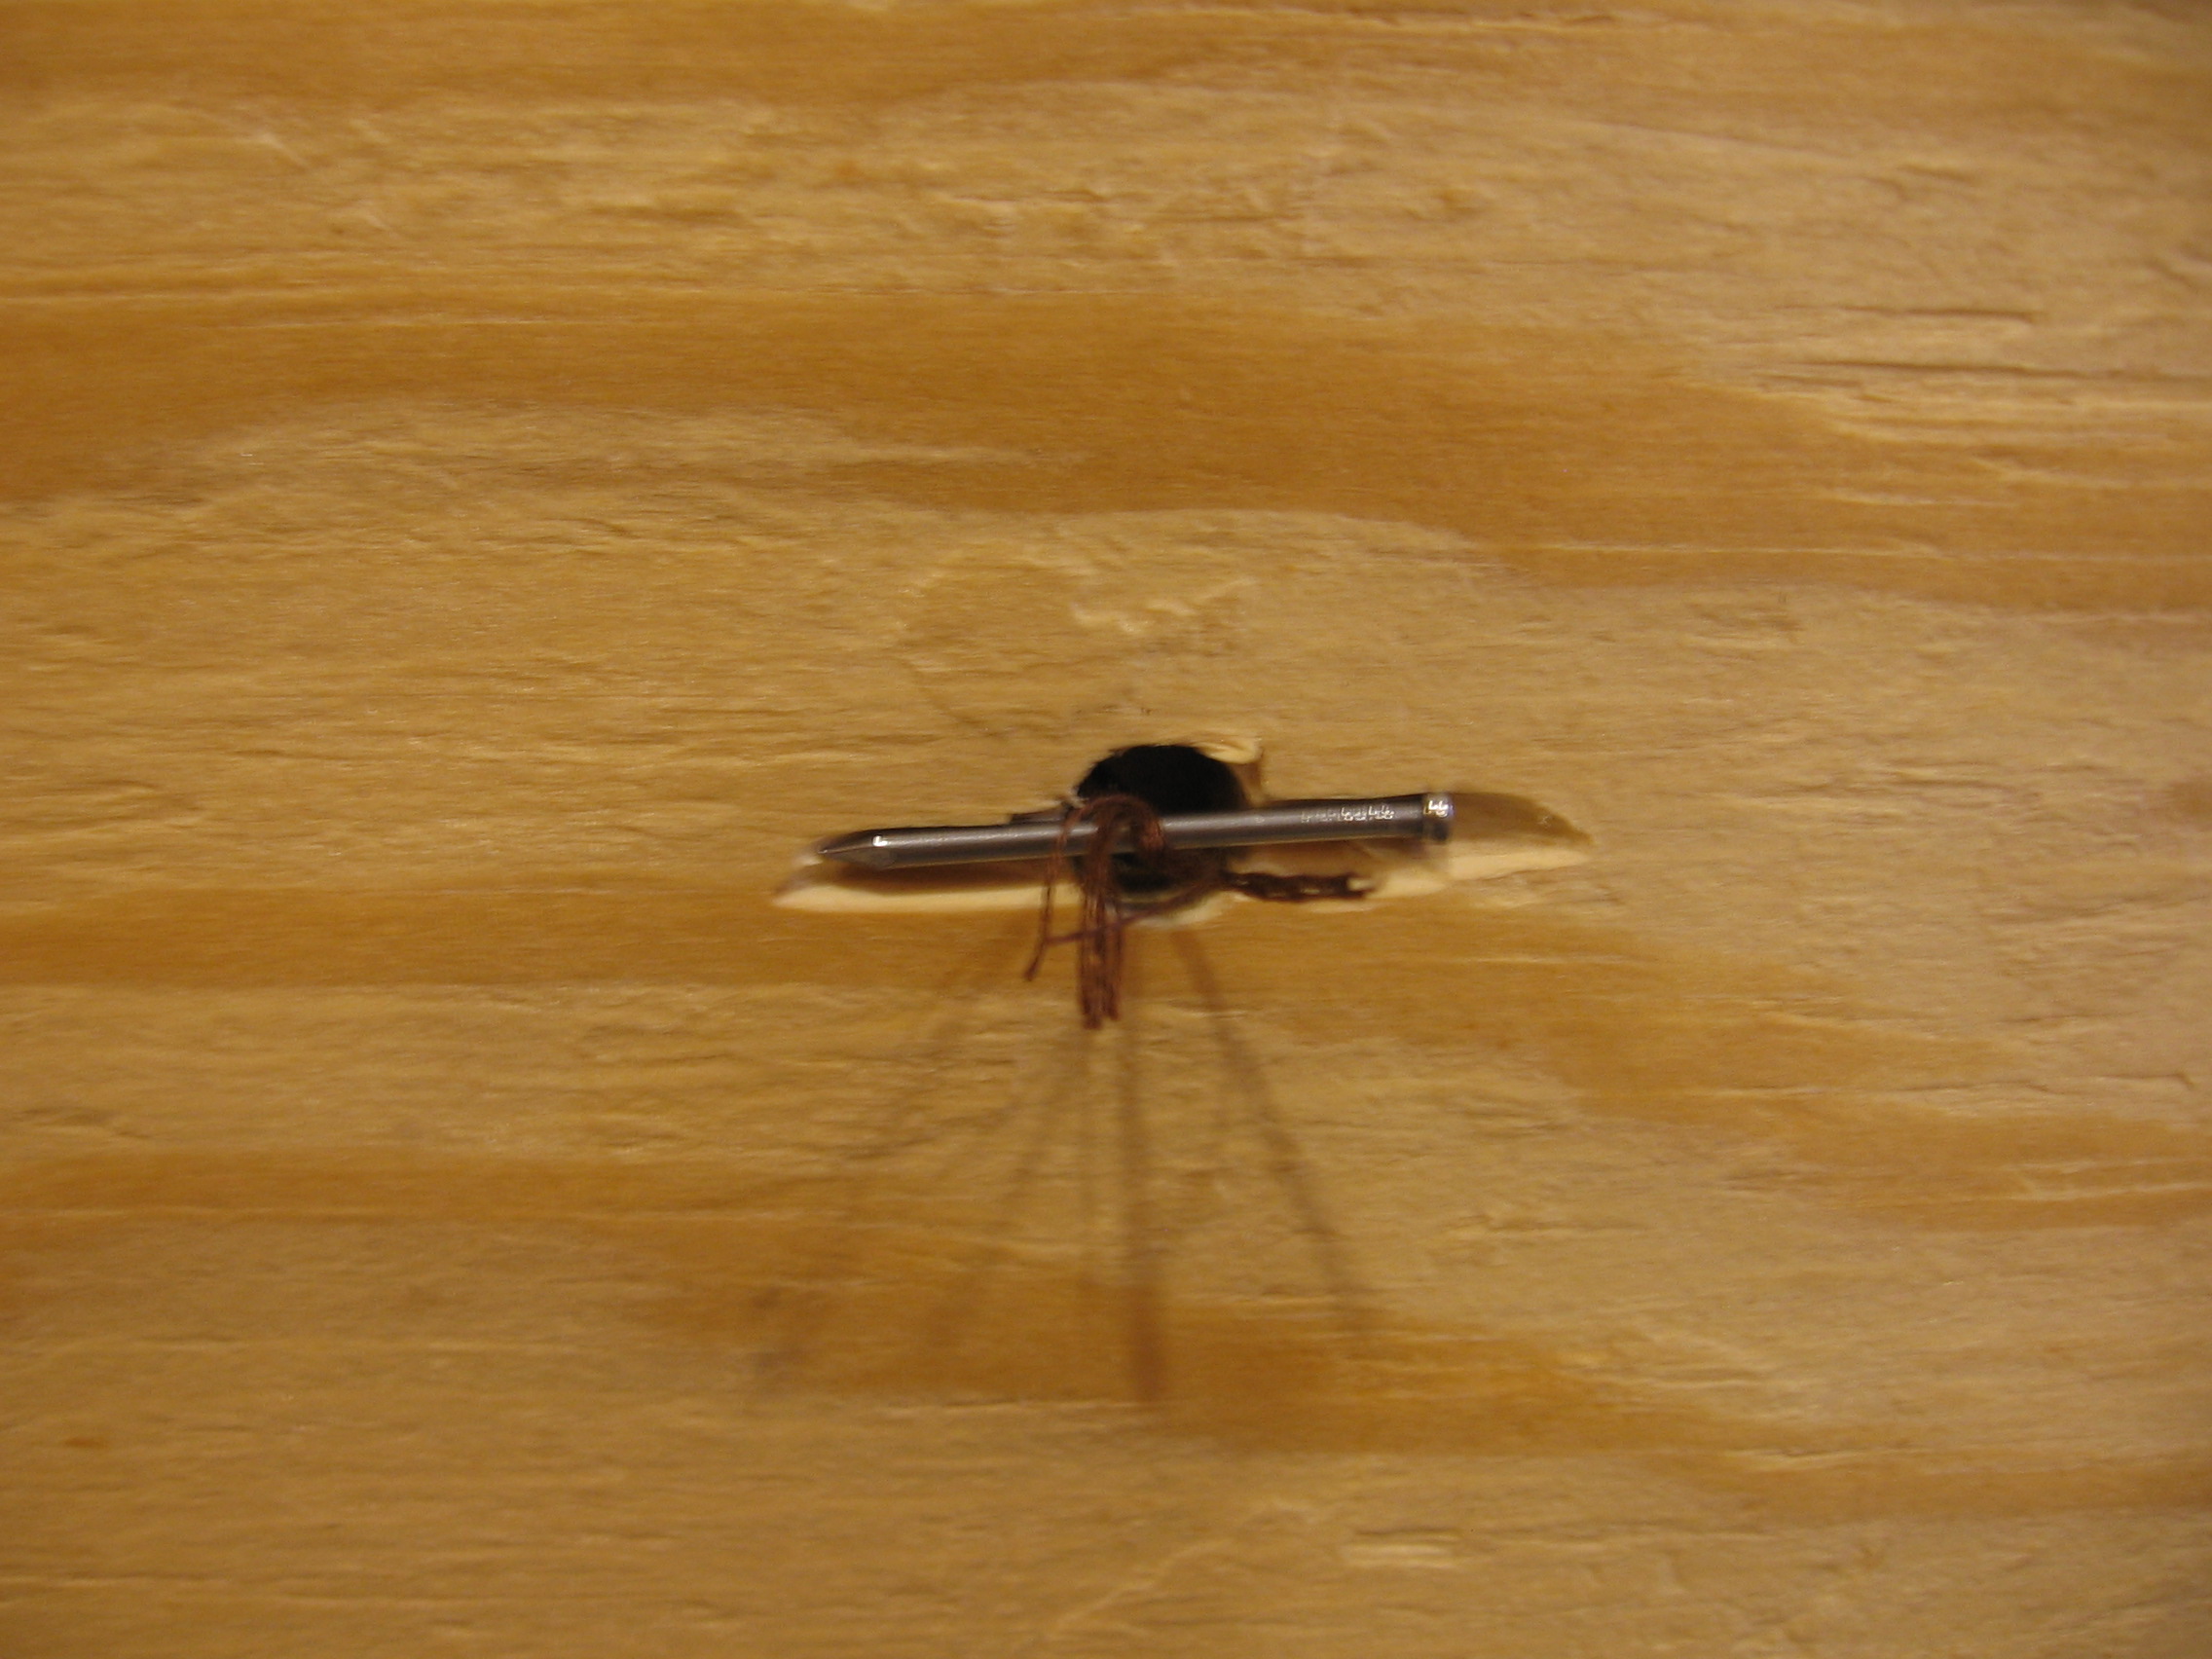
Before adding the foam we laid out the buttons and drilled holes for them in the plywood backing. I also used a Dremel cutoff wheel to make these notches for a finish nail. Using a long needle we pushed the embroidery floss through the plywood, foam, and fabric from the back, looped it on the button, and made a return trip. I used a double overhand knot at first until the depth of the button was just right. I finished with a square knot.
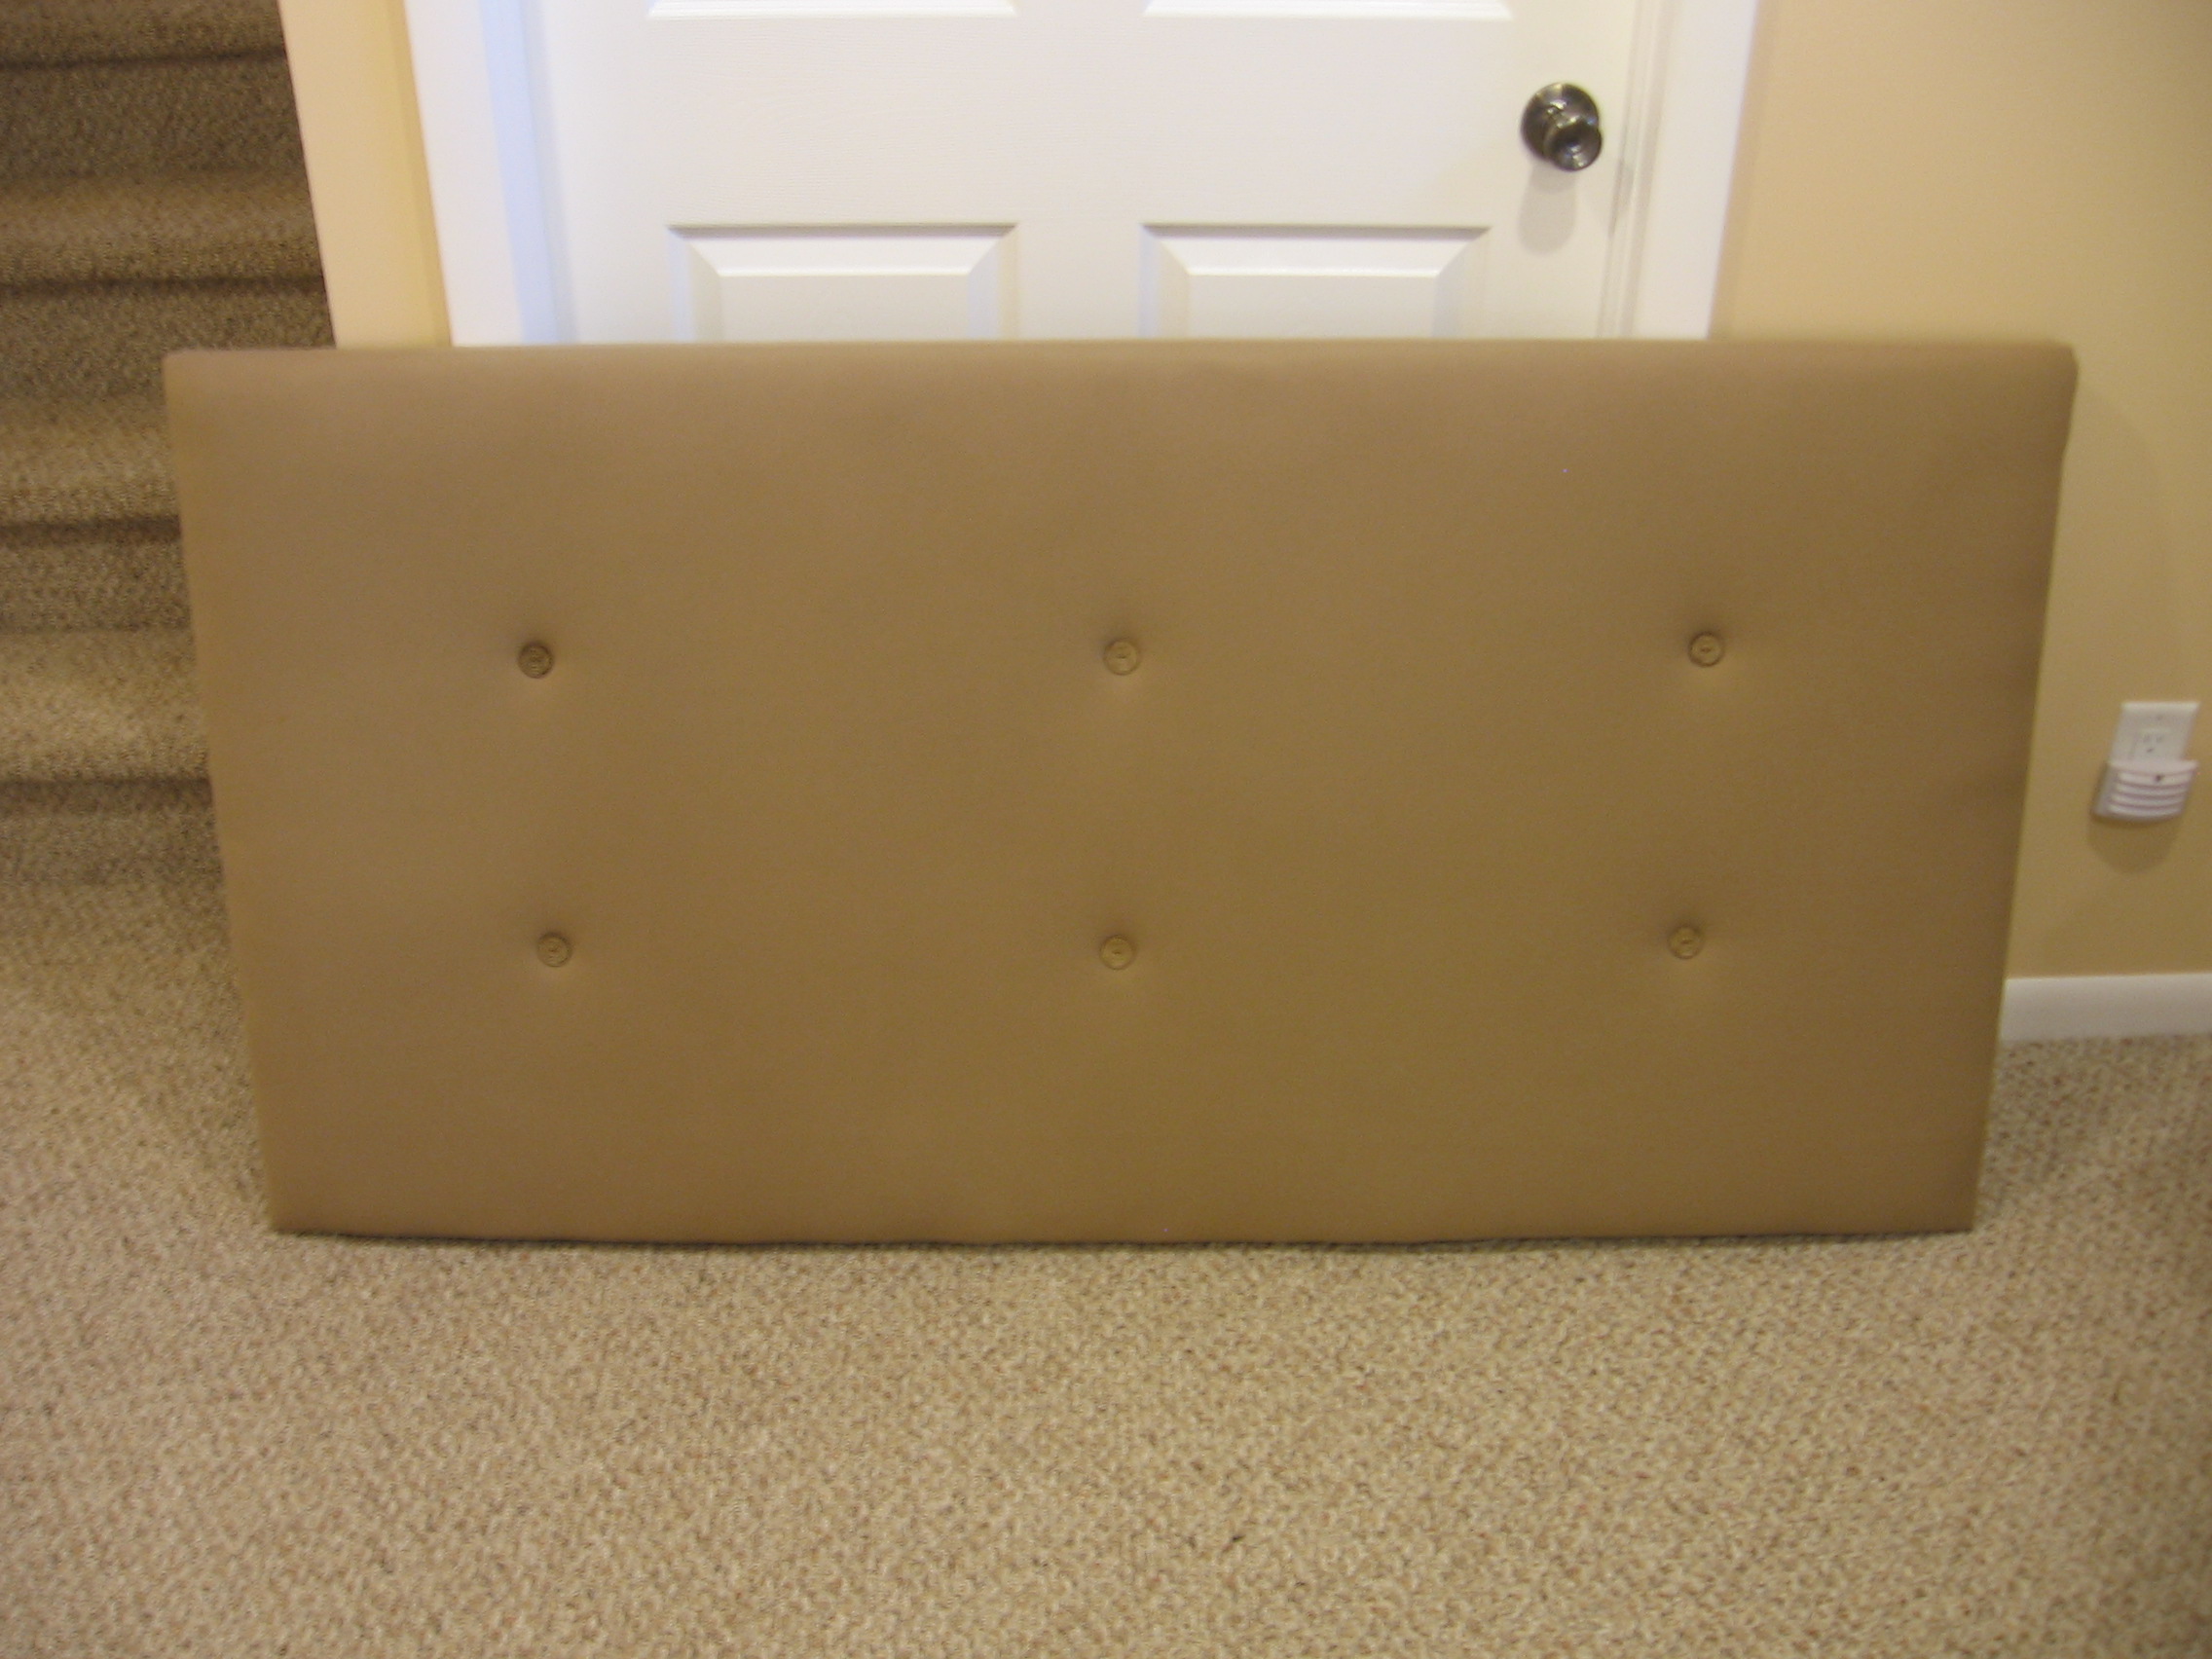
With the upholstery and buttons finished it’s time to hang this thing on the wall! To figure out where it should go we put the cleat in position on the back of the headboard and measured down to the bottom edge. In the bedroom we measured up from just below the mattress top and marked the wall for the cleat.
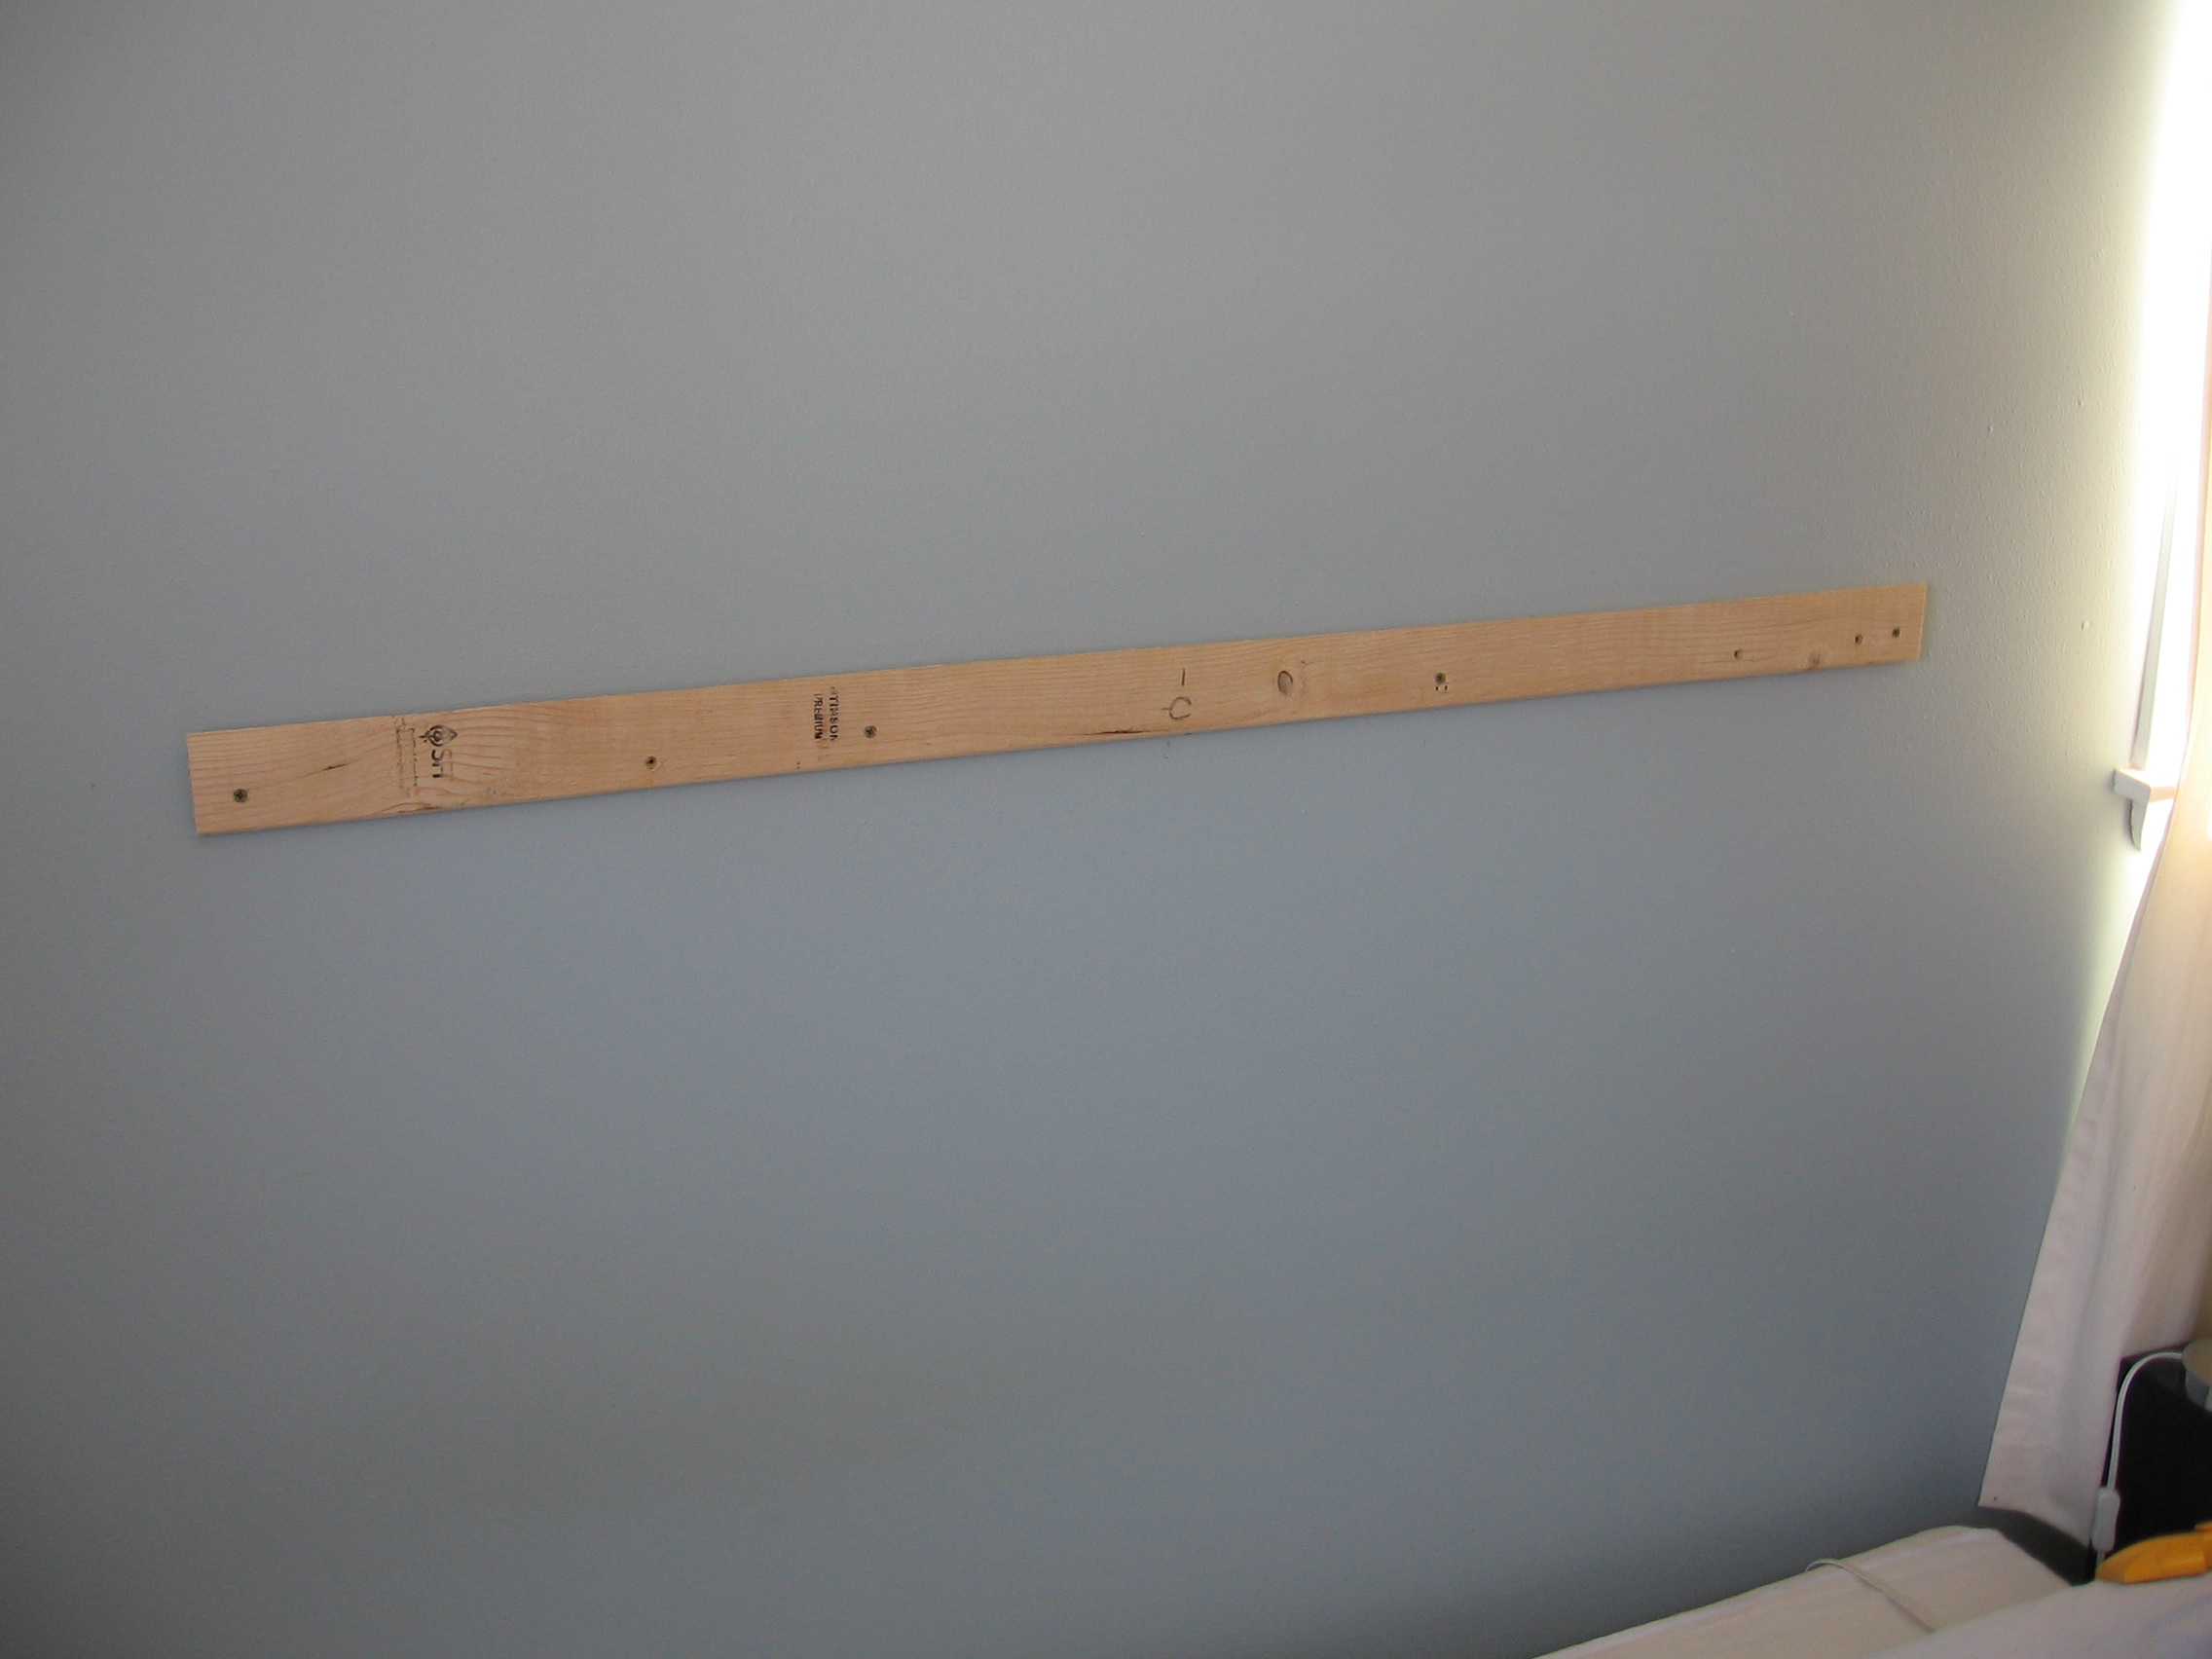
I used a stud finder and a level to anchor this in four studs with the 2-1/2″ deck screws. I recommend pre-drilling the cleat to avoid splitting the wood. Getting at least two studs should be enough, but make sure to support the outer edges using a molly if a stud is not available. This is because the 45-degree angle on the cleat with have the effect of pulling it away from the wall and we want the headboard to be held tightly in place.
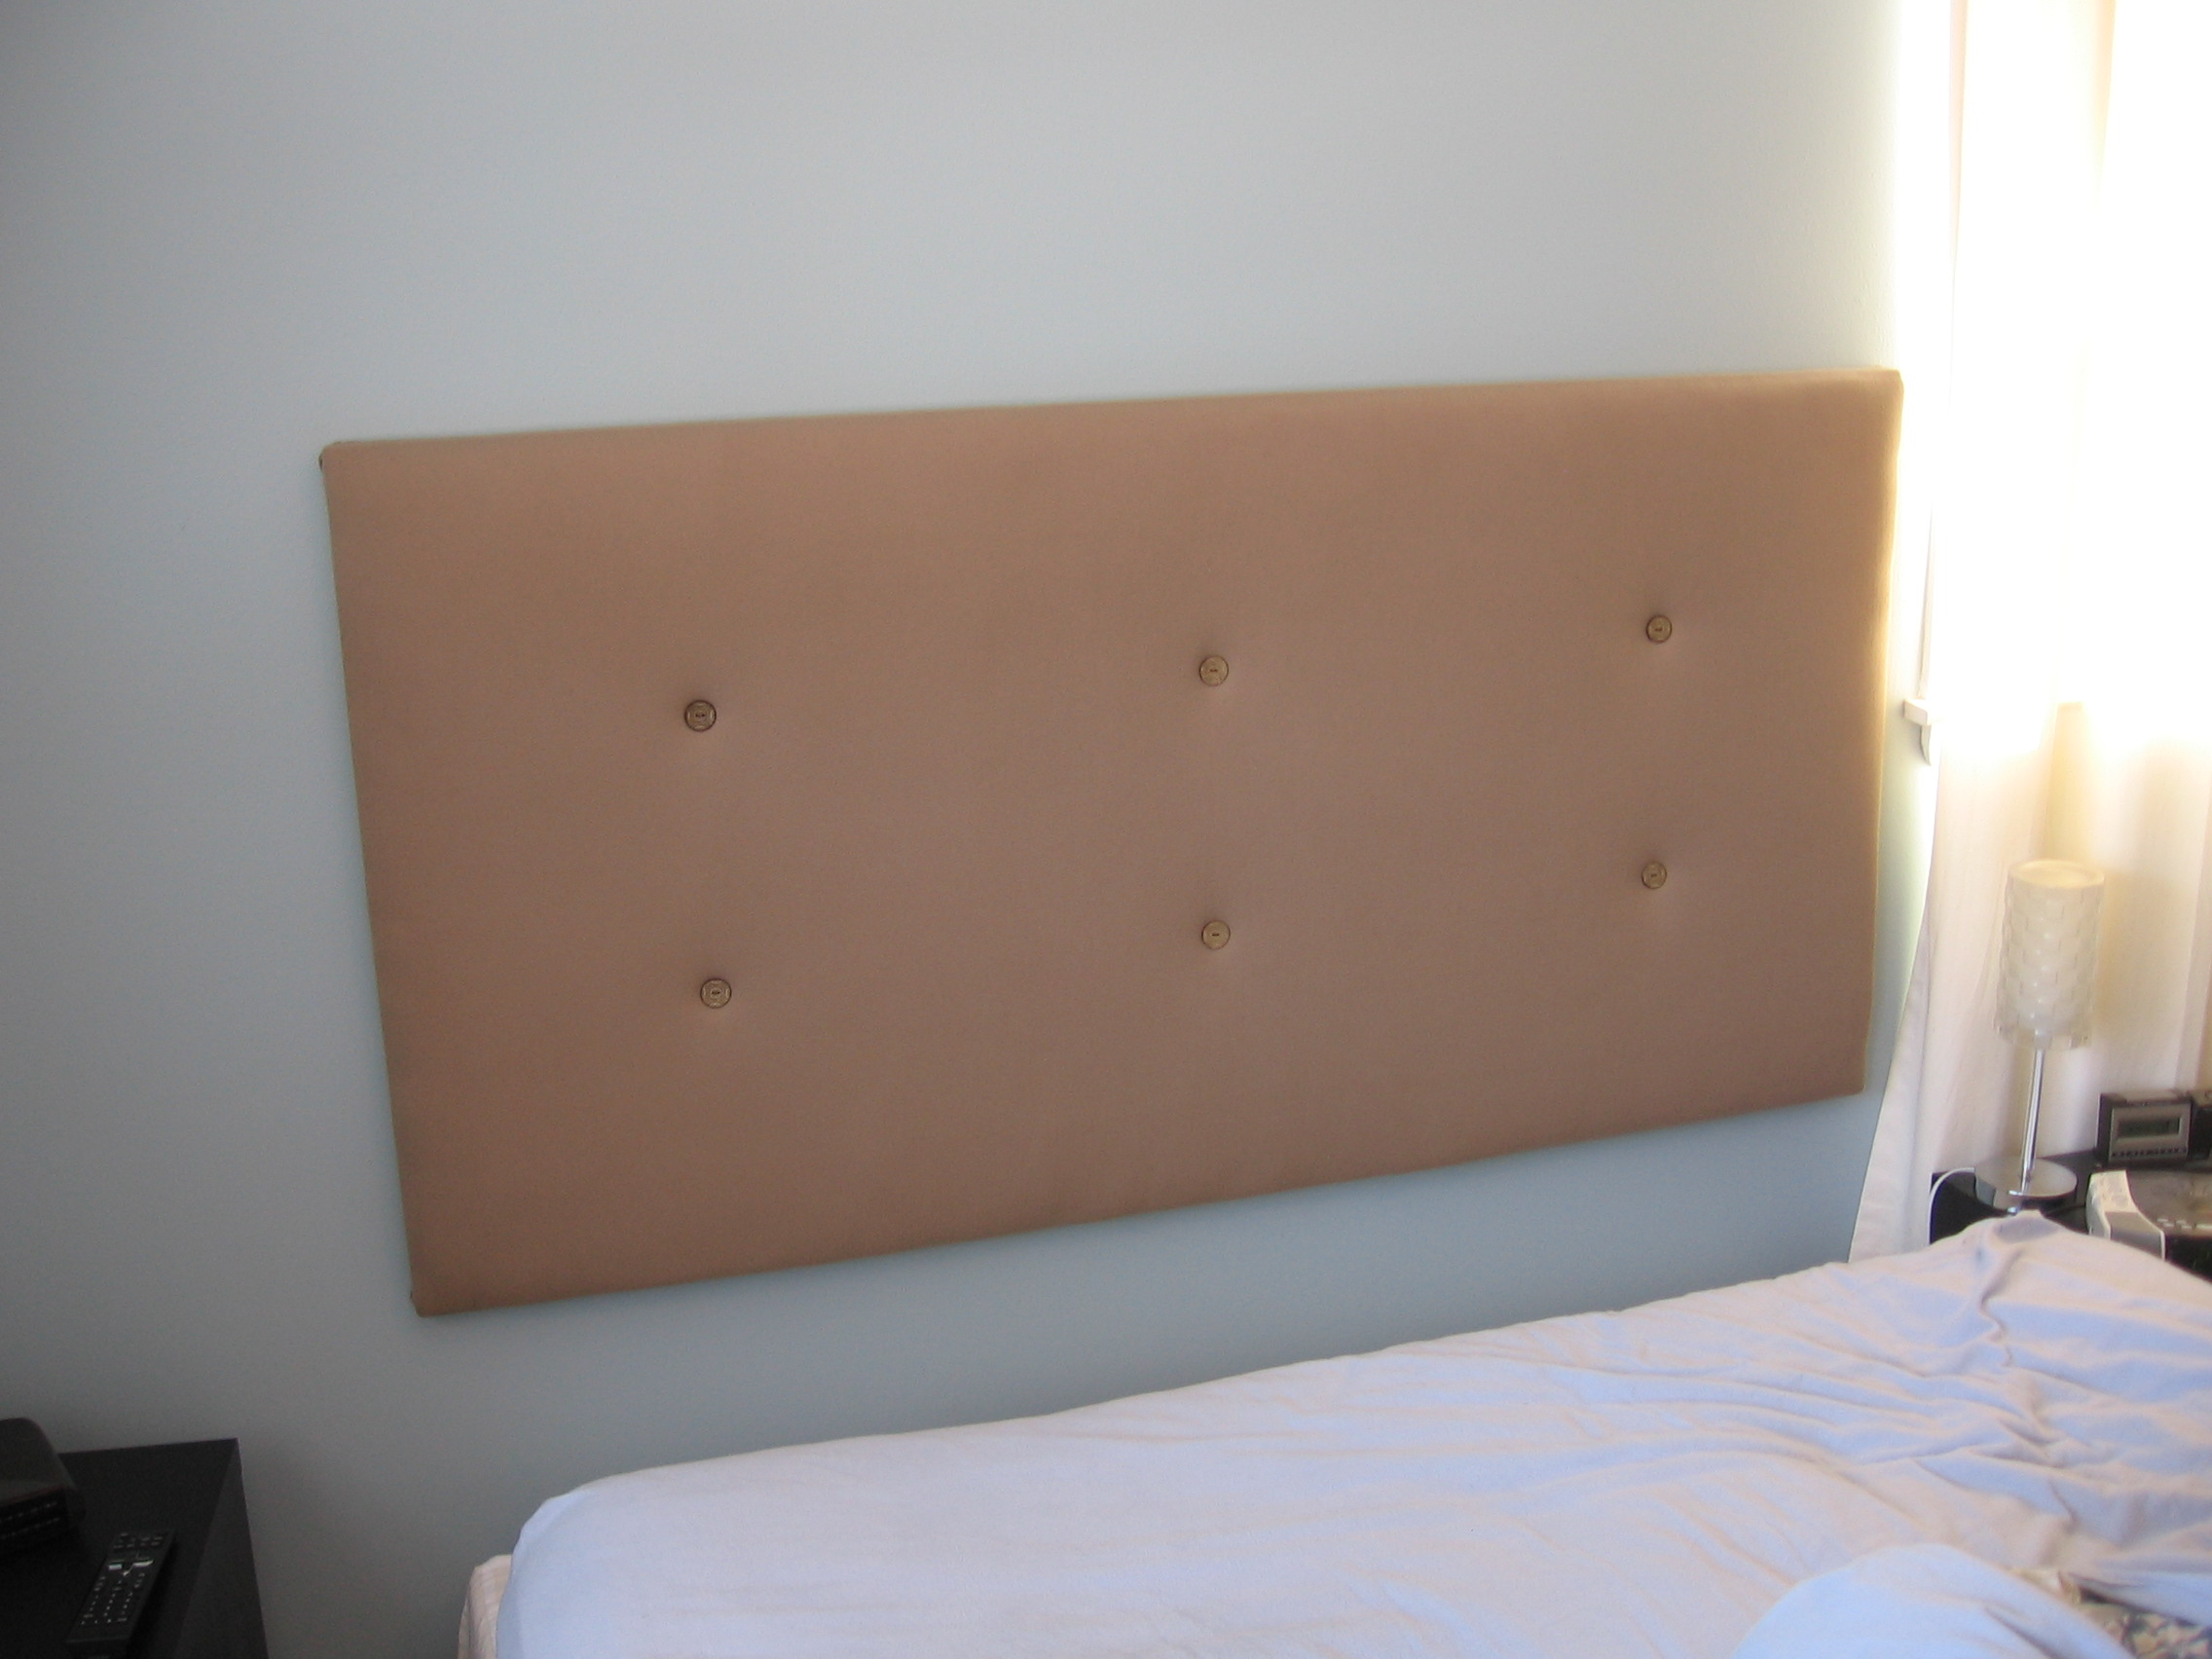
When hanging the headboard on the cleat push it tightly toward the wall and downward until the two angled pieces of lumber seat together. If you did it right this thing’s not going anywhere.
Make the bed and take a picture, everyone’s going to want to see how it came out!