I have this Samsung Vitality phone which I picked up from a Best Buy sale last year for $50. Better yet, it came with a Bluetooth speaker that I didn’t need and I managed to net $28 by selling that on eBay. I love the thing, it’s not a high-powered device, but it works for web browsing and email. There is just one problem, it only has 137 MB of internal storage. And when I got it, most of that was already used.
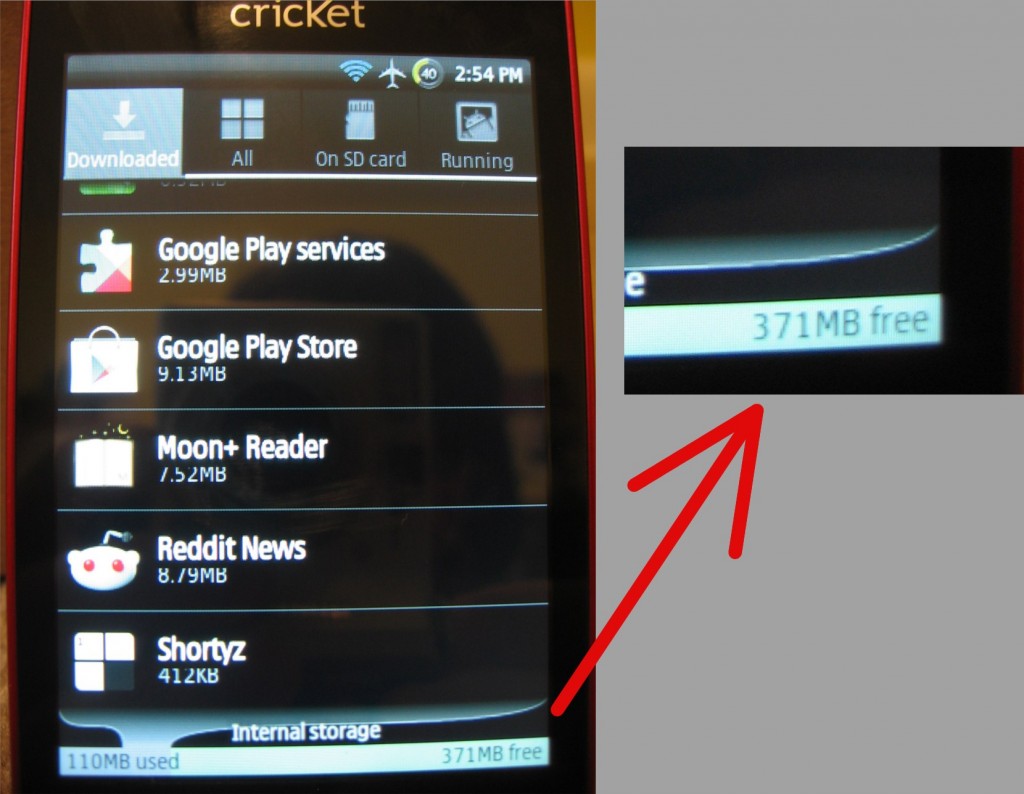
I was visiting my friend Linus this week and he told me I could expand that by adding some of the SD card memory. We tried it but couldn’t get it to work. But I gave it another go today and figured out how to use ClockworkMod along with INT2EXT4+ to do the deed. Now, as you can see, I have twice as much free internal storage as the phone is supposed to ship with.
This should be possible with any Android device. Join me after the break and I’ll tell you how to make it happen for your phone.
Prerequisites:
- Back up your phone and prepare yourself to start from scratch. This process WILL format your SD card, and if you’re going to be doing that, why not reinstall your ROM and start fresh?
- Your phone needs to be rooted and running ClockworkMod (CWM). This isn’t necessarily the only way it can be done, but it’s how I did it.
For those with Samsung Vitality phones follow this guide for installing CWM and a custom ROM.
Partition the SD card:
- Reboot into the CWM recovery mod. With the ROM I have you can choose recovery from the menu that pops up when you hold down the power button for 1 second while at the home screen.
- My phone uses the volume up and down to navigate, the home button for ‘OK’ and the power button for ‘Back’ when at the CWM menu.
- Choose ‘Advanced’ from the main menu then select ‘Partition SD Card’
- Select ‘512M’ for Ext size and ‘0M’ for swap size. You will have to wait for several minutes for this to complete. Half a gig may not seem like enough, but that’s actually enough a lot of apps, and you need 100MB of free internal storage for every 500MB of the SD card rolled into it; for my phone this is basically the largest option that will work.
- When this is done your SD card will have been completely formatted (you already made a backup, right?). It now contains two partitions, but we need to do some work to set them up. First, choose ‘Reboot Recovery’ and then when the menu pops up again hit ‘reboot system now’.
Adding the new partition to the internal memory
All we’ve really done so far is to repartition the SD card. Now we need the phone to make use of that. I used the INT2EXT4+ script.
- Download the INT2EXT4+ script. You’ll find a link to the download in this XDA guide thread. It would be a great idea to read that guide while you’re there.
- Put the .zip file on your SD card. Since my phone rebooted into Android I just used a USB cable to do this.
- Reboot into recovery again.
- IMPORTANT: for my phone I needed to mount the /system folder before this would work. Go to ‘mounts and storage’, chose ‘mount /system’ and then go back to the main menu
- Now go to ‘install zip from sdcard’. Select ‘choose zip from sdcard’. Choose the file you put on the card which should be called something like ‘CronMod-INT2EXT4+_signed.zip’. Then choose the menu item that confirms installing this zip file.
- Reboot from the menu as we did in the partitioning step (you will probably need to do this twice).
- When Android loads up again you can click the menu button and choose ‘Manage Apps’ to verify that your internal storage has grown larger than its previously meager offering.


