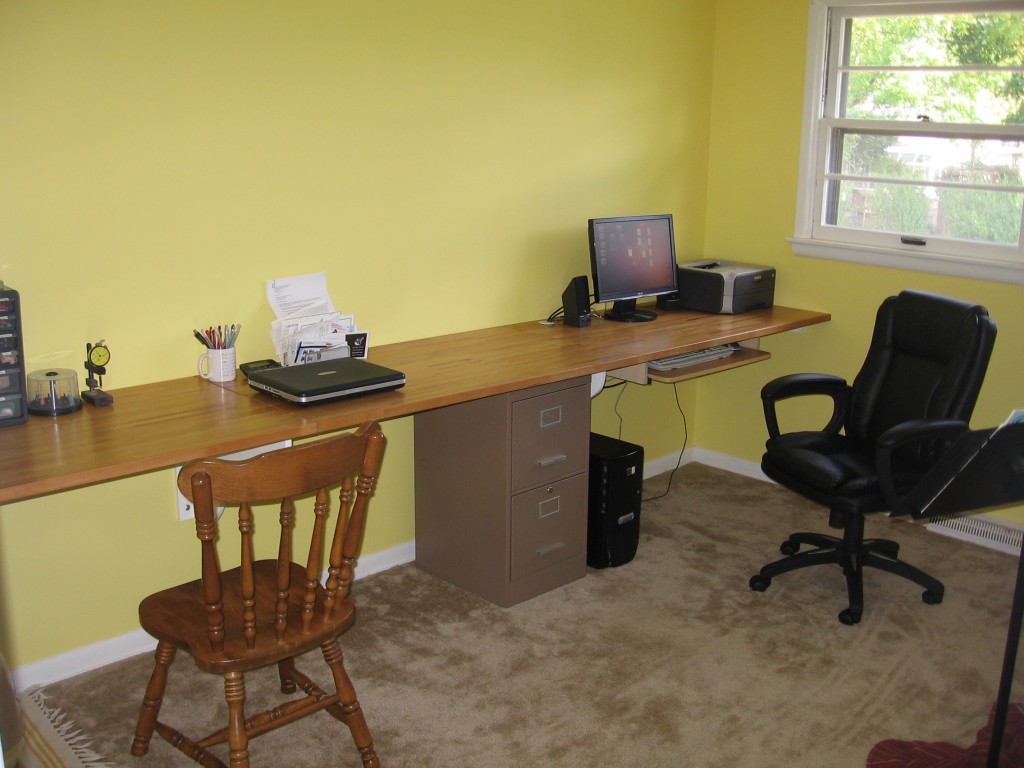
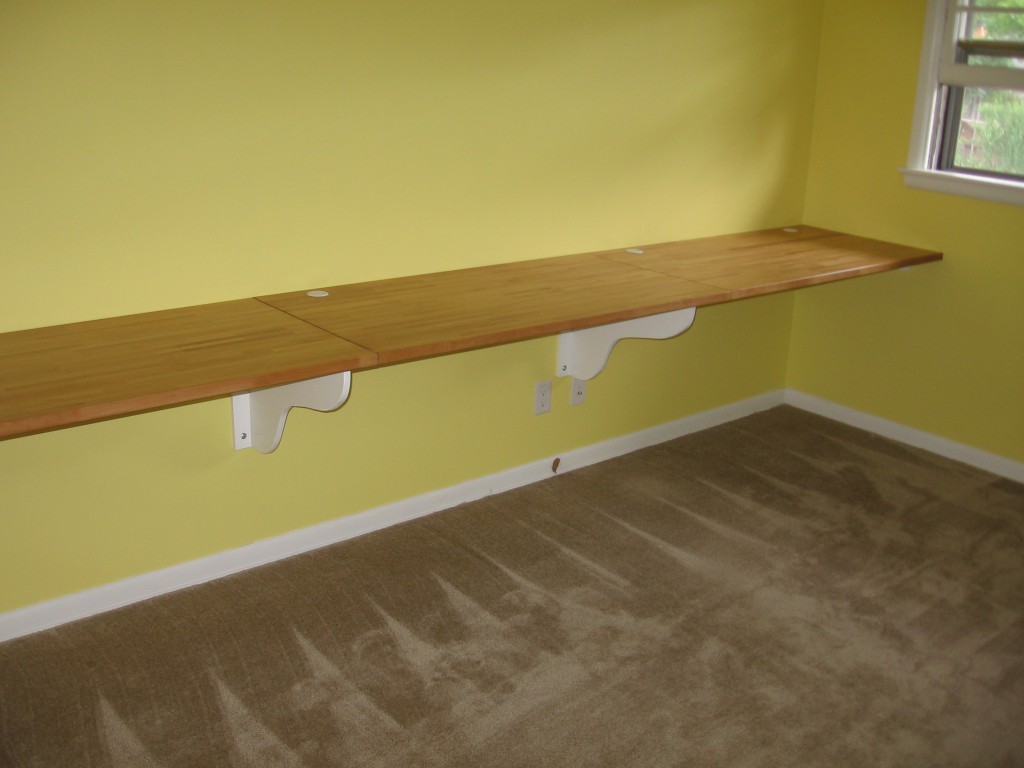
When Amanda and I bought a house we were excited to have an office space where I could write posts and work on electronic projects, she could make reeds (as all Bassoon players do), and we both could teach lessons.
At first we just used a couple of small desks that we moved from the apartment. We looked for new desks that would fit the room well, but in the end building a desk that spans the twelve foot long wall was the best decision we could have made. It looks great, works very well, and it was very inexpensive. After the break I’ll show you how to do the same with your office space, and give a little video tour of the finished (and heavily used) project.
Gathering Materials
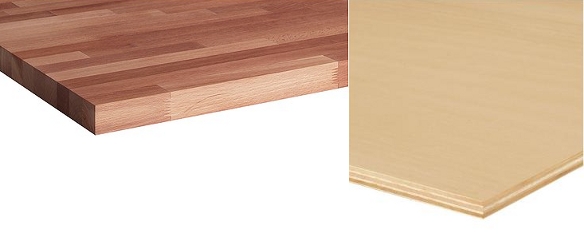
We knew that we had just a bit less than twelve feet of wall space to work with. While searching for desks at Ikea we ran across their Lagan countertop (seen on the left above). Somehow they manage to sell a sheet that is just over four feet long for $39.99. This got us thinking about building our own. All that it would take is a support system anchored to the walls. Some back of the envelope drawings led me to the conclusion that one piece of plywood would yield more than enough support pieces. Here’s the materials and tools I used for the project:
-
Sheet Goods:
- Three sheets of Lagan countertop from Ikea
-
One 4×8 sheet of 3/4″ Sandeply (finish grade plywood) from Home Depot
-
Hardware:
- 6x 3″ Lag Screws
- 16x 3.5″ Wood Screws
- 16x Finish Washers
- 14x 1.25″ Wood Screws
- 20x Fender Washers
- Box of 1 5/8″ Wood Screws
- Gorilla Glue
-
Pocket Screws for plywood and hardwood
-
Finish:
- White trim paint
-
Clear satin finish polyurethane
-
Tools:
- Drill
- Circular Saw (Plywood blade and finish blade)
- Jigsaw
- 2″ Hole Saw
- Pocket Screw jig
- Socket driver (for lag screws)
The Design
The concept is simple enough, plywood supports will be anchored to the wall to support the butcher block top. There are just a couple of things to consider. First, I’m using three pieces of desktop so I need to support the seams where they meet. Second, I want to over engineer the supports so that the desk will never pull away from the wall.
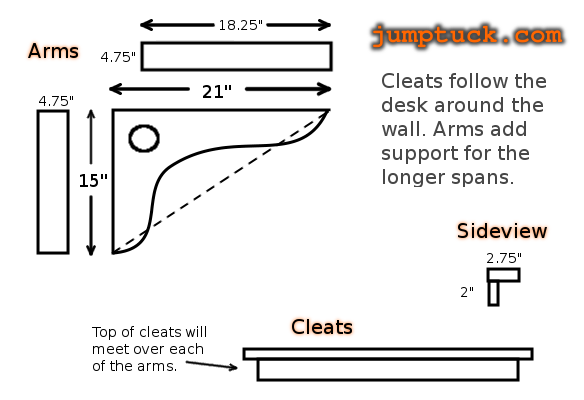
I found the studs in wall, and measured their location. Luckily, I can place the two support arms so that one will be under each of the seams. To lay out the arms I measured out a triangle on the plywood , then drew a pleasant curve free hand. Each of these arms will have a perpendicular pad glued and screwed to it. One of the pads will be anchored to the wall, the other will be screwed to the underside of the desktop. The pads serve to distribute the weight of the desk.
Notice in the diagram that the top pad on the arm is held out 2.75″ from the wall. This is so that the top part of the overhanging cleats will meet over the arms for better support there as well.
Cutting the Parts
Put on those safety glasses, put in some earplugs, and keep your fingers away from the saws. It’s time to start cutting. I used a circular saw and straight edge to cut out the arms, then used the jig saw to cut the curves. I have a table saw and used that to cut the parts for the pads and cleats, but this can be done with a circular saw and straight edge as well.
I was cautious, and cut just one arm at first. I used gorilla glue and countersunk screws to put it together, then lag screwed it to a wall in the basement. It supported my weight without a problem so I figure it will be just fine or the desk.
Assembled Supports
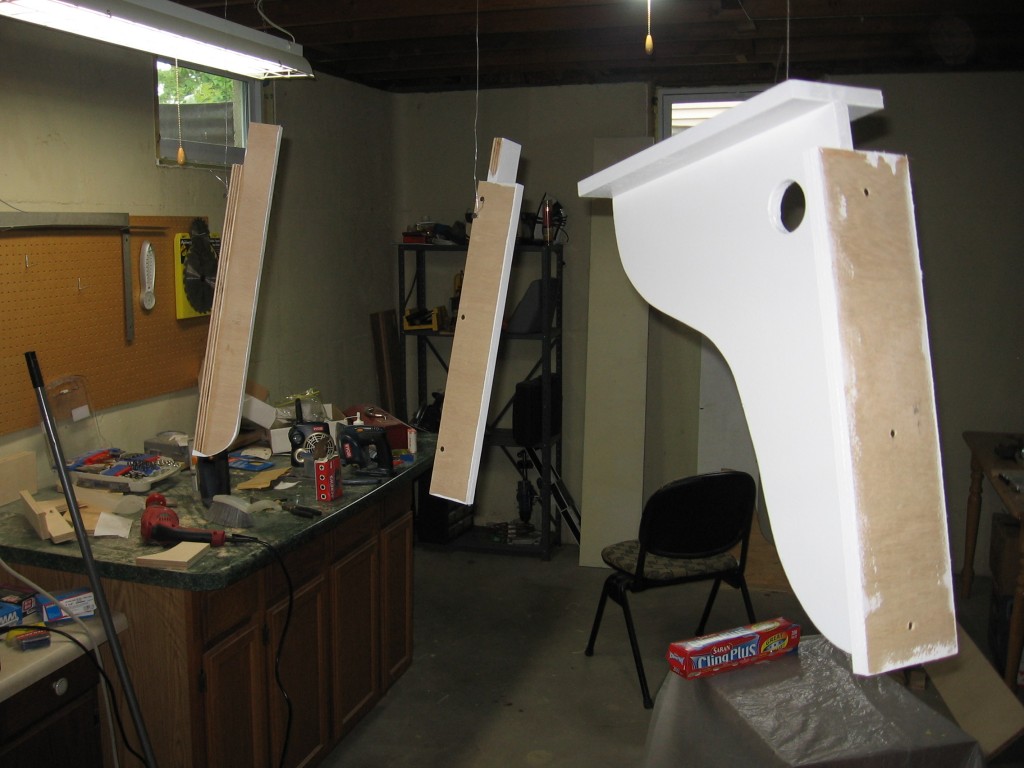
This is actually a pretty good angle. here I have one of the arms and the two end cleats. You can see the counter sunk 1 5/8″ woods screws that hold the pads in place while the Gorilla Glue cures. You can also see that I used a hole saw to cut out a cable pass through in each arm.
I find it much easier to finish these parts before mounting them to the wall. Here I’ve put one screw on the wall or desk side of each part and hung them from the basement ceiling with some wire so that I can do all of the finished sides at once. I put on two coats of primer and two coats of glossy white trim paint after taking care to sand the cut edges smooth.
Wall Installation
Now things are starting to get serious. Think before you act, because once you start mounting this you can’t move it without patching the holes left behind.
Your desk should be both level, and at the proper height. I measured an old desk, looked around the Internet, and also took into consideration the fact that we wanted this file cabinet to barely fit under the desk when establishing height. We settled on 31 inches.
Once we decided our target height, I subtracted the width of the butcher block, and marked this height in pencil several places throughout the room. You’ll want to check if these marks present a level line. In our case they most certainly did not. Using a string line and string level, we fudged the marks until we had it level then snapped a chalk line around the room.
Here you can see the arms and cleat installed. But I started by only mounting the arms and the side cleats. Each of the arms has two lag screws holding it to the wall. Pre-drilling the arms and the hole in the wall is recommended.
The side cleats have one lag screw into a stud near the front of the desk. The back part is attached to a stud with two wood screws and two finish washers. At this point I had not assembled the longer parts of the wall cleats. That’s because I needed to mount the arms and side pieces before I knew the exact measurements. I made the final cuts, drilled for pocket screws that will help secure the cleat system, then glued and screwed the pieces together.
The pocket screws are quite handy when assembling the cleat system. At the corners of the room and at each arm the vertical part of the cleats are pocket screwed together. The horizontal parts of the cleats are also joined with pocket screws. This is a strong joint that makes sure the cleats are perfectly aligned, providing a flat surface for the butcher block to rest on.
Now is a great time to drill over sized holes in the horizontal parts of the cleats and arms. These will be used to secure the desktop to the supports from the underside using the 1.25″ screws and fender washers. You want oversize holes so that the wooden top can expand and contract without cracking.
Preparing the Desktop
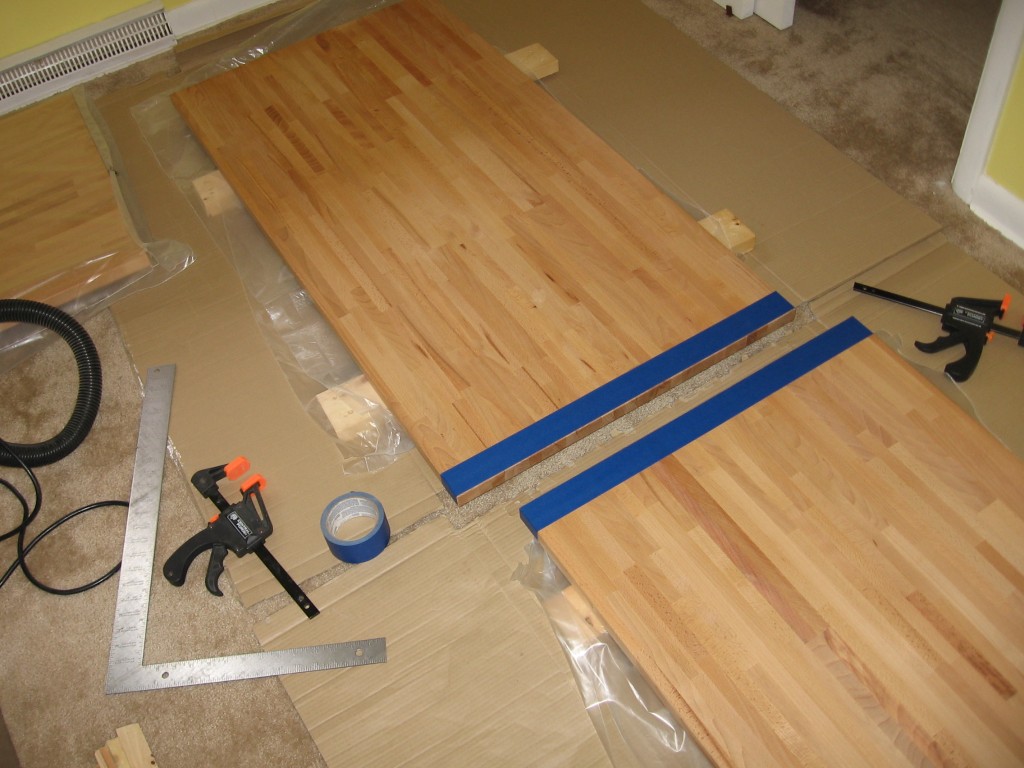
I decided to adhere the three pieces of butcher block to each other. This might be overkill, but like I said before I intentionally over engineered this. After careful measuring I cut off about three inches or so of waste from one of the sheets. Next, I set up a level area to glue the pieces together.
Here you can see I’ve protected the surface using blue painters tape. I then flipped the pieces over and drilled five pocket screw holes. These were used as a clamping device while the Gorilla Glue dried. You’ll notice the two clamps in the image above. These were used to make sure the surface between the two pieces was flat before driving in the pocket screws. You only get once chance at this, so take your time.
Once I had one twelve-foot piece of butcher block I got a few pairs of helping hands to get it up onto the support structure. It was a bit tricky. Lift one side high into the air, get the other in place, then slowly lowering it into place. Predrill and fasten it to the supports (through he oversized holes you already drilled) with short wood screws and fender washers.
Final Touches
At this point the butcher block is unfinished. If it were a cutting board you could just use mineral oil to treat it. But this will see a bit of wear. We used about six coats of satin finish clear polyurethane to protect it. When installing the butcher block I put pieces of wax paper all around the border so I could finish it without getting anything on the walls. I put on thin coats using foam brushes, buffing each dried layer with #00000 steel wool before applying the next.
Another nice touch was to drill four two-inch holes for cable grommets. We had to hit the Internet to find the size, color, and style we wanted. They cost more than expected, but we like the look. Unfortunately we didn’t realize that our cats would make a new favorite game out of poking these grommets out from underneath. But at least they’re entertained!
Conclusion
We absolutely love the results. Sure, there’s drawers, but we have a closet where our office supplies are kept.
I did add a keyboard tray to the underside of the desk. This is simply some leftover plywood mounted to the desk with some angle brackets. They provide a surface to mount some drawer pulls for the tray which is reused from an old desk.
Without further ado, here’s a video as I promised:


